Extend Existing Models (deprecated)
Learn how you can leverage the Entity Builder while using your own database model.
- Author
- by Alexandro Martínez
- 2.6 years ago
❗Edit: This feature was removed in SaasRock v0.9.2 (see changelog).
Goals
Add a model at
schema.prisma.Extend it with the Custom Entity Builder.
Steps
💿 First, open the schema.prisma file and add the following model:
model JobPost {
  id     String  @id @default(cuid())
  rowId  String  @unique
  row    Row     @relation(fields: [rowId], references: [id], onDelete: Cascade)
  title  String
  type   String // Fixed - Hourly
  budget Decimal
}
💿 On the Row model, add 2 properties:
jobPostId - Nullable String? (not all Rows will be job posts)
jobPost - Nullable JobPost?
model Row {
  id                String         @id @default(cuid())
  ...
  jobPostId         String?
  jobPost           JobPost?
}
This property name will be important, so take note if you have jobPost or JobPost.
💿 Add a migration to update the database:
npx prisma migrate dev --name added_job_post_model
💿 Start your app, and add the JobPost Custom Entity.
WARNING
The name value should be the same as the one on the Row model (jobPost or JobPost).
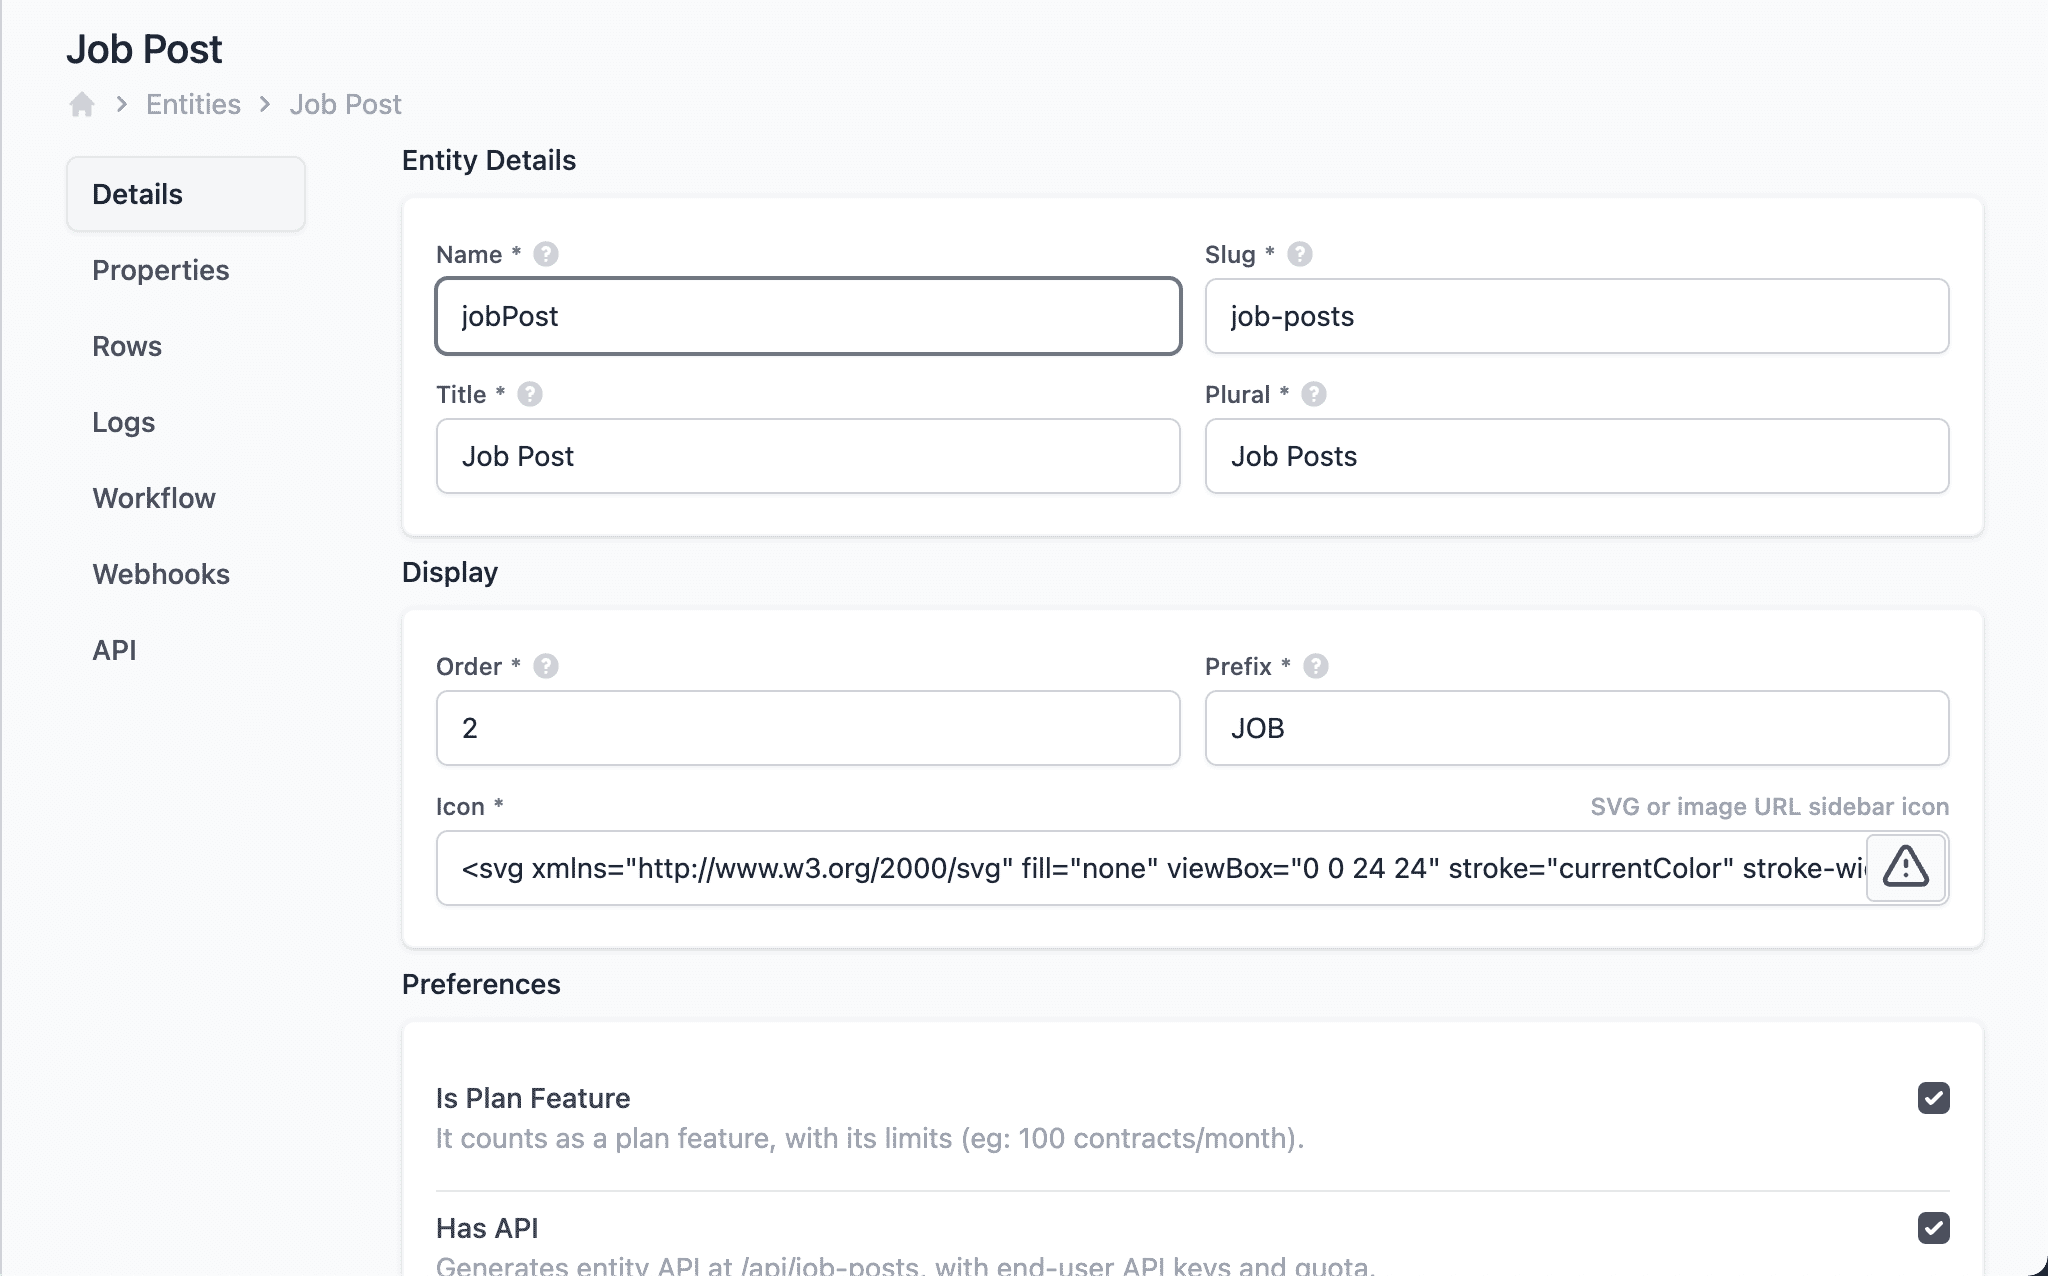
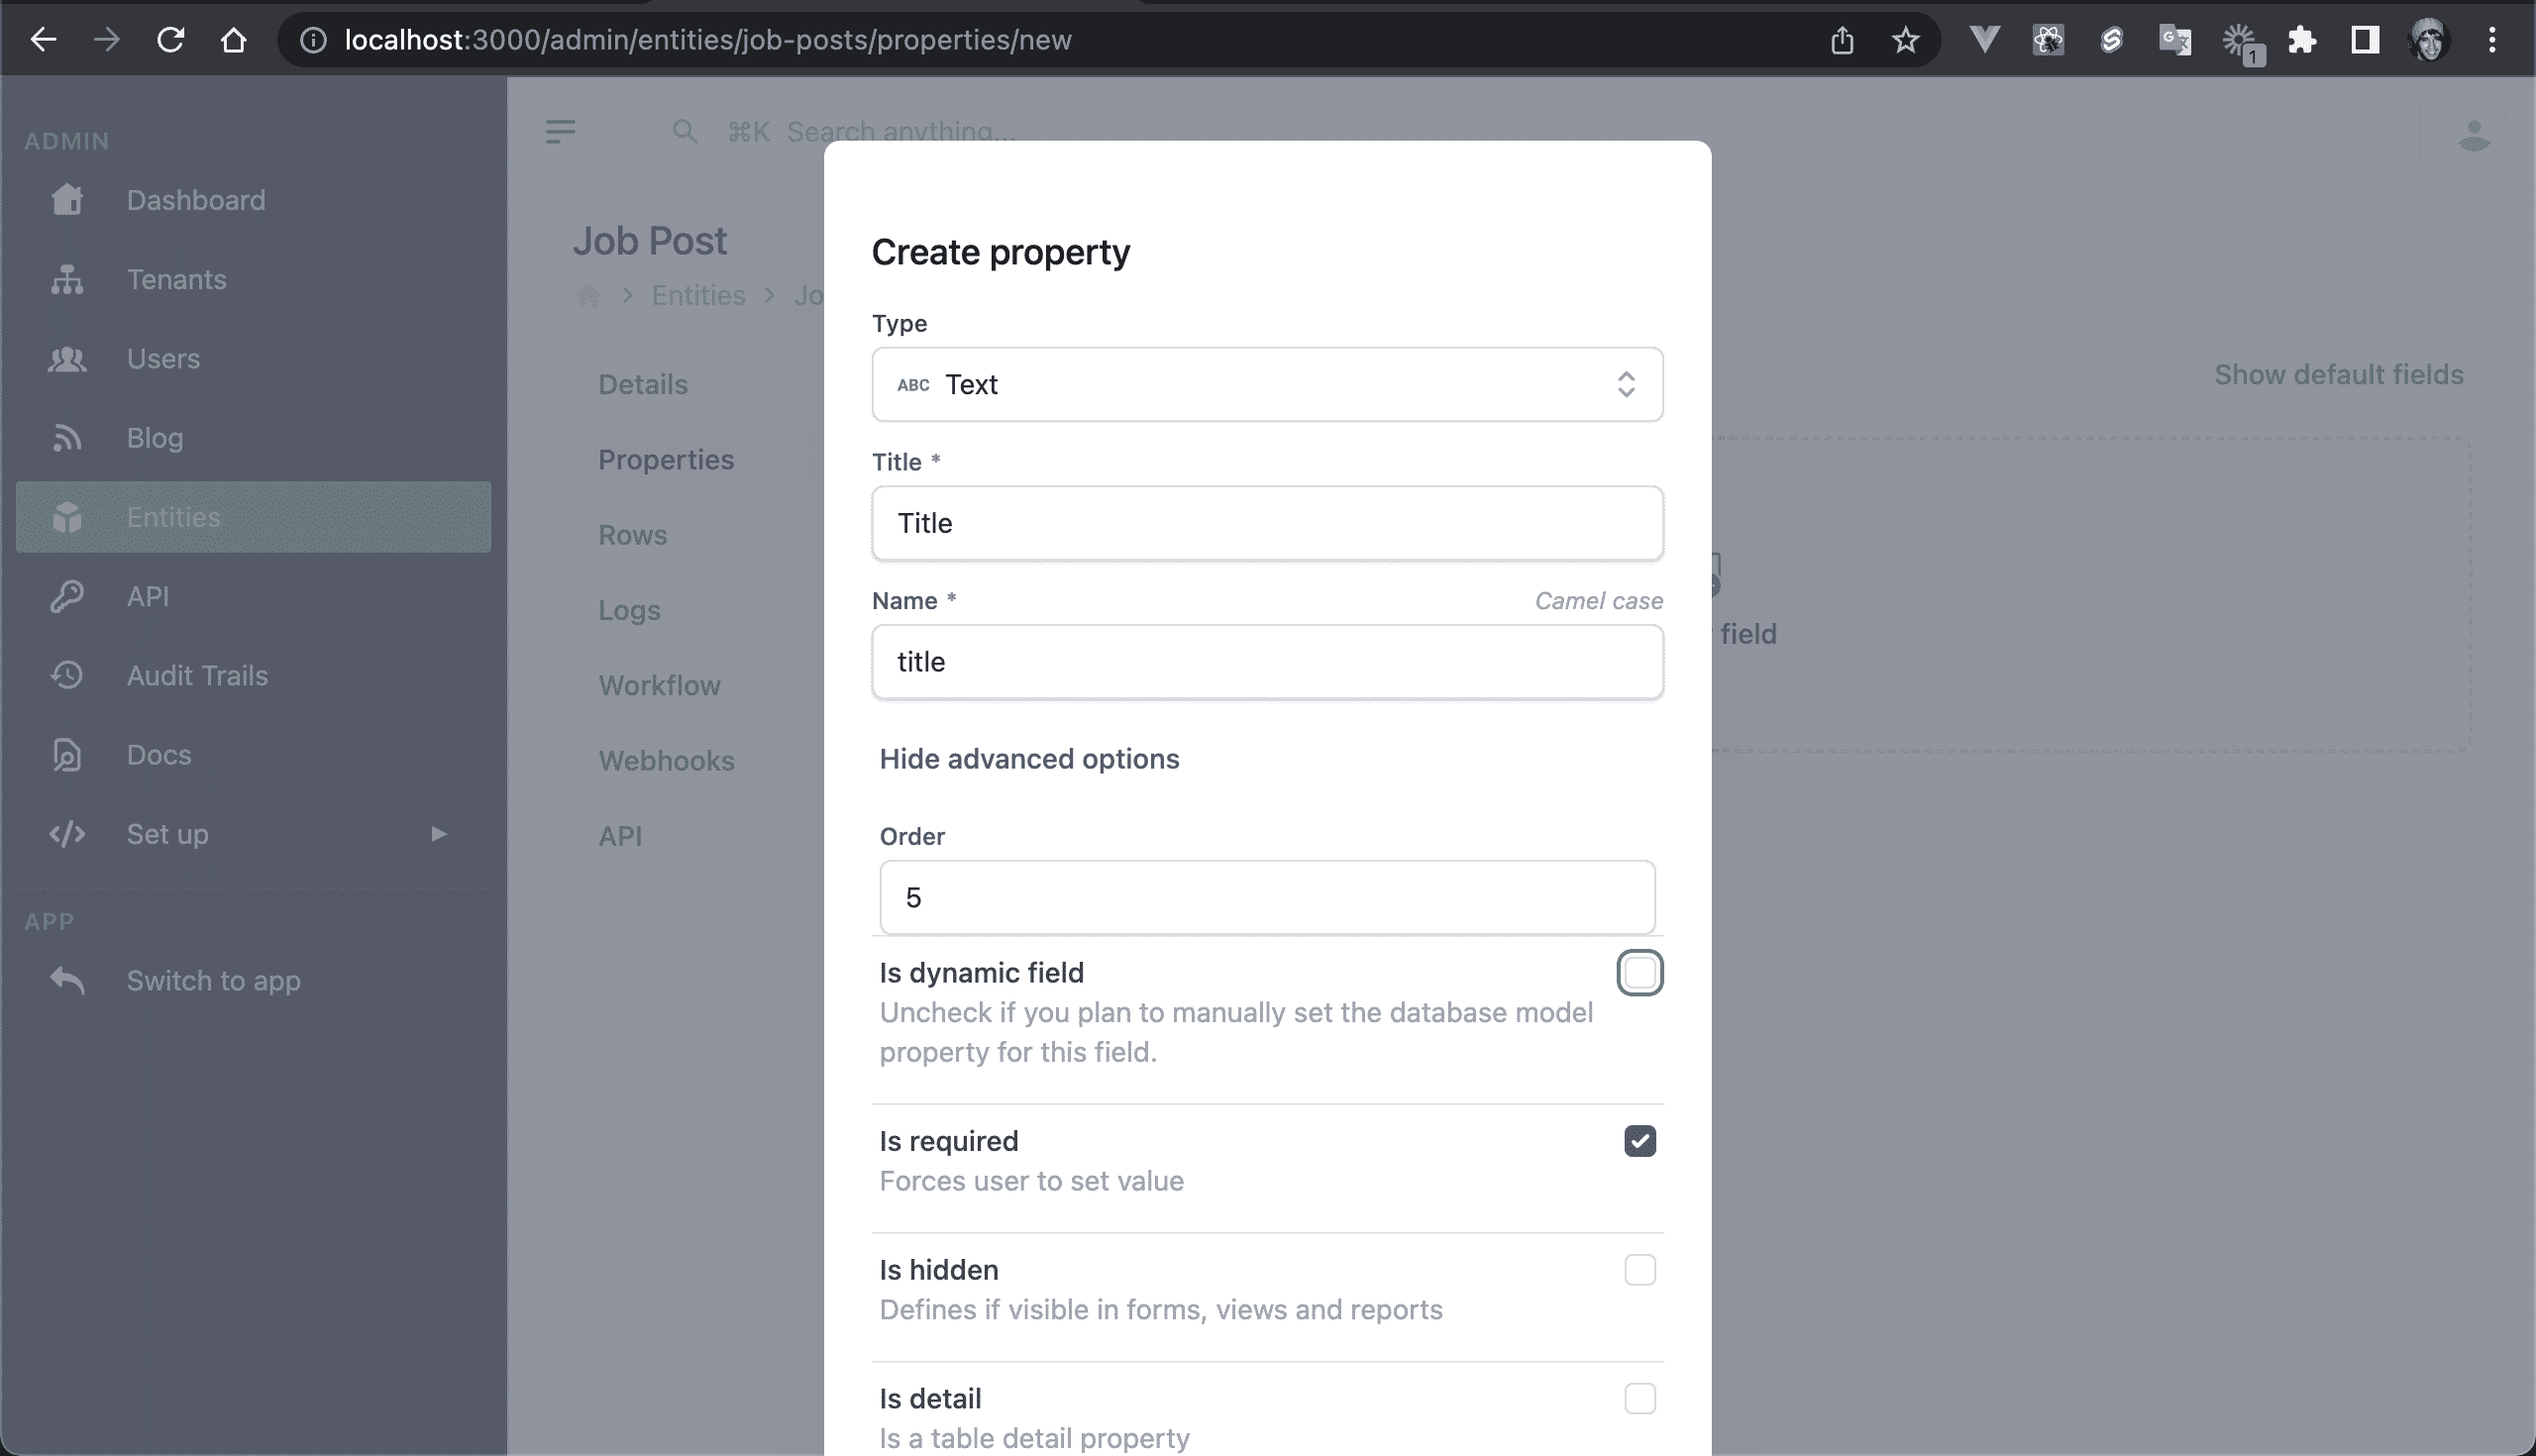
💿 For each field, click on Show advanced options and set Is dynamic to false.
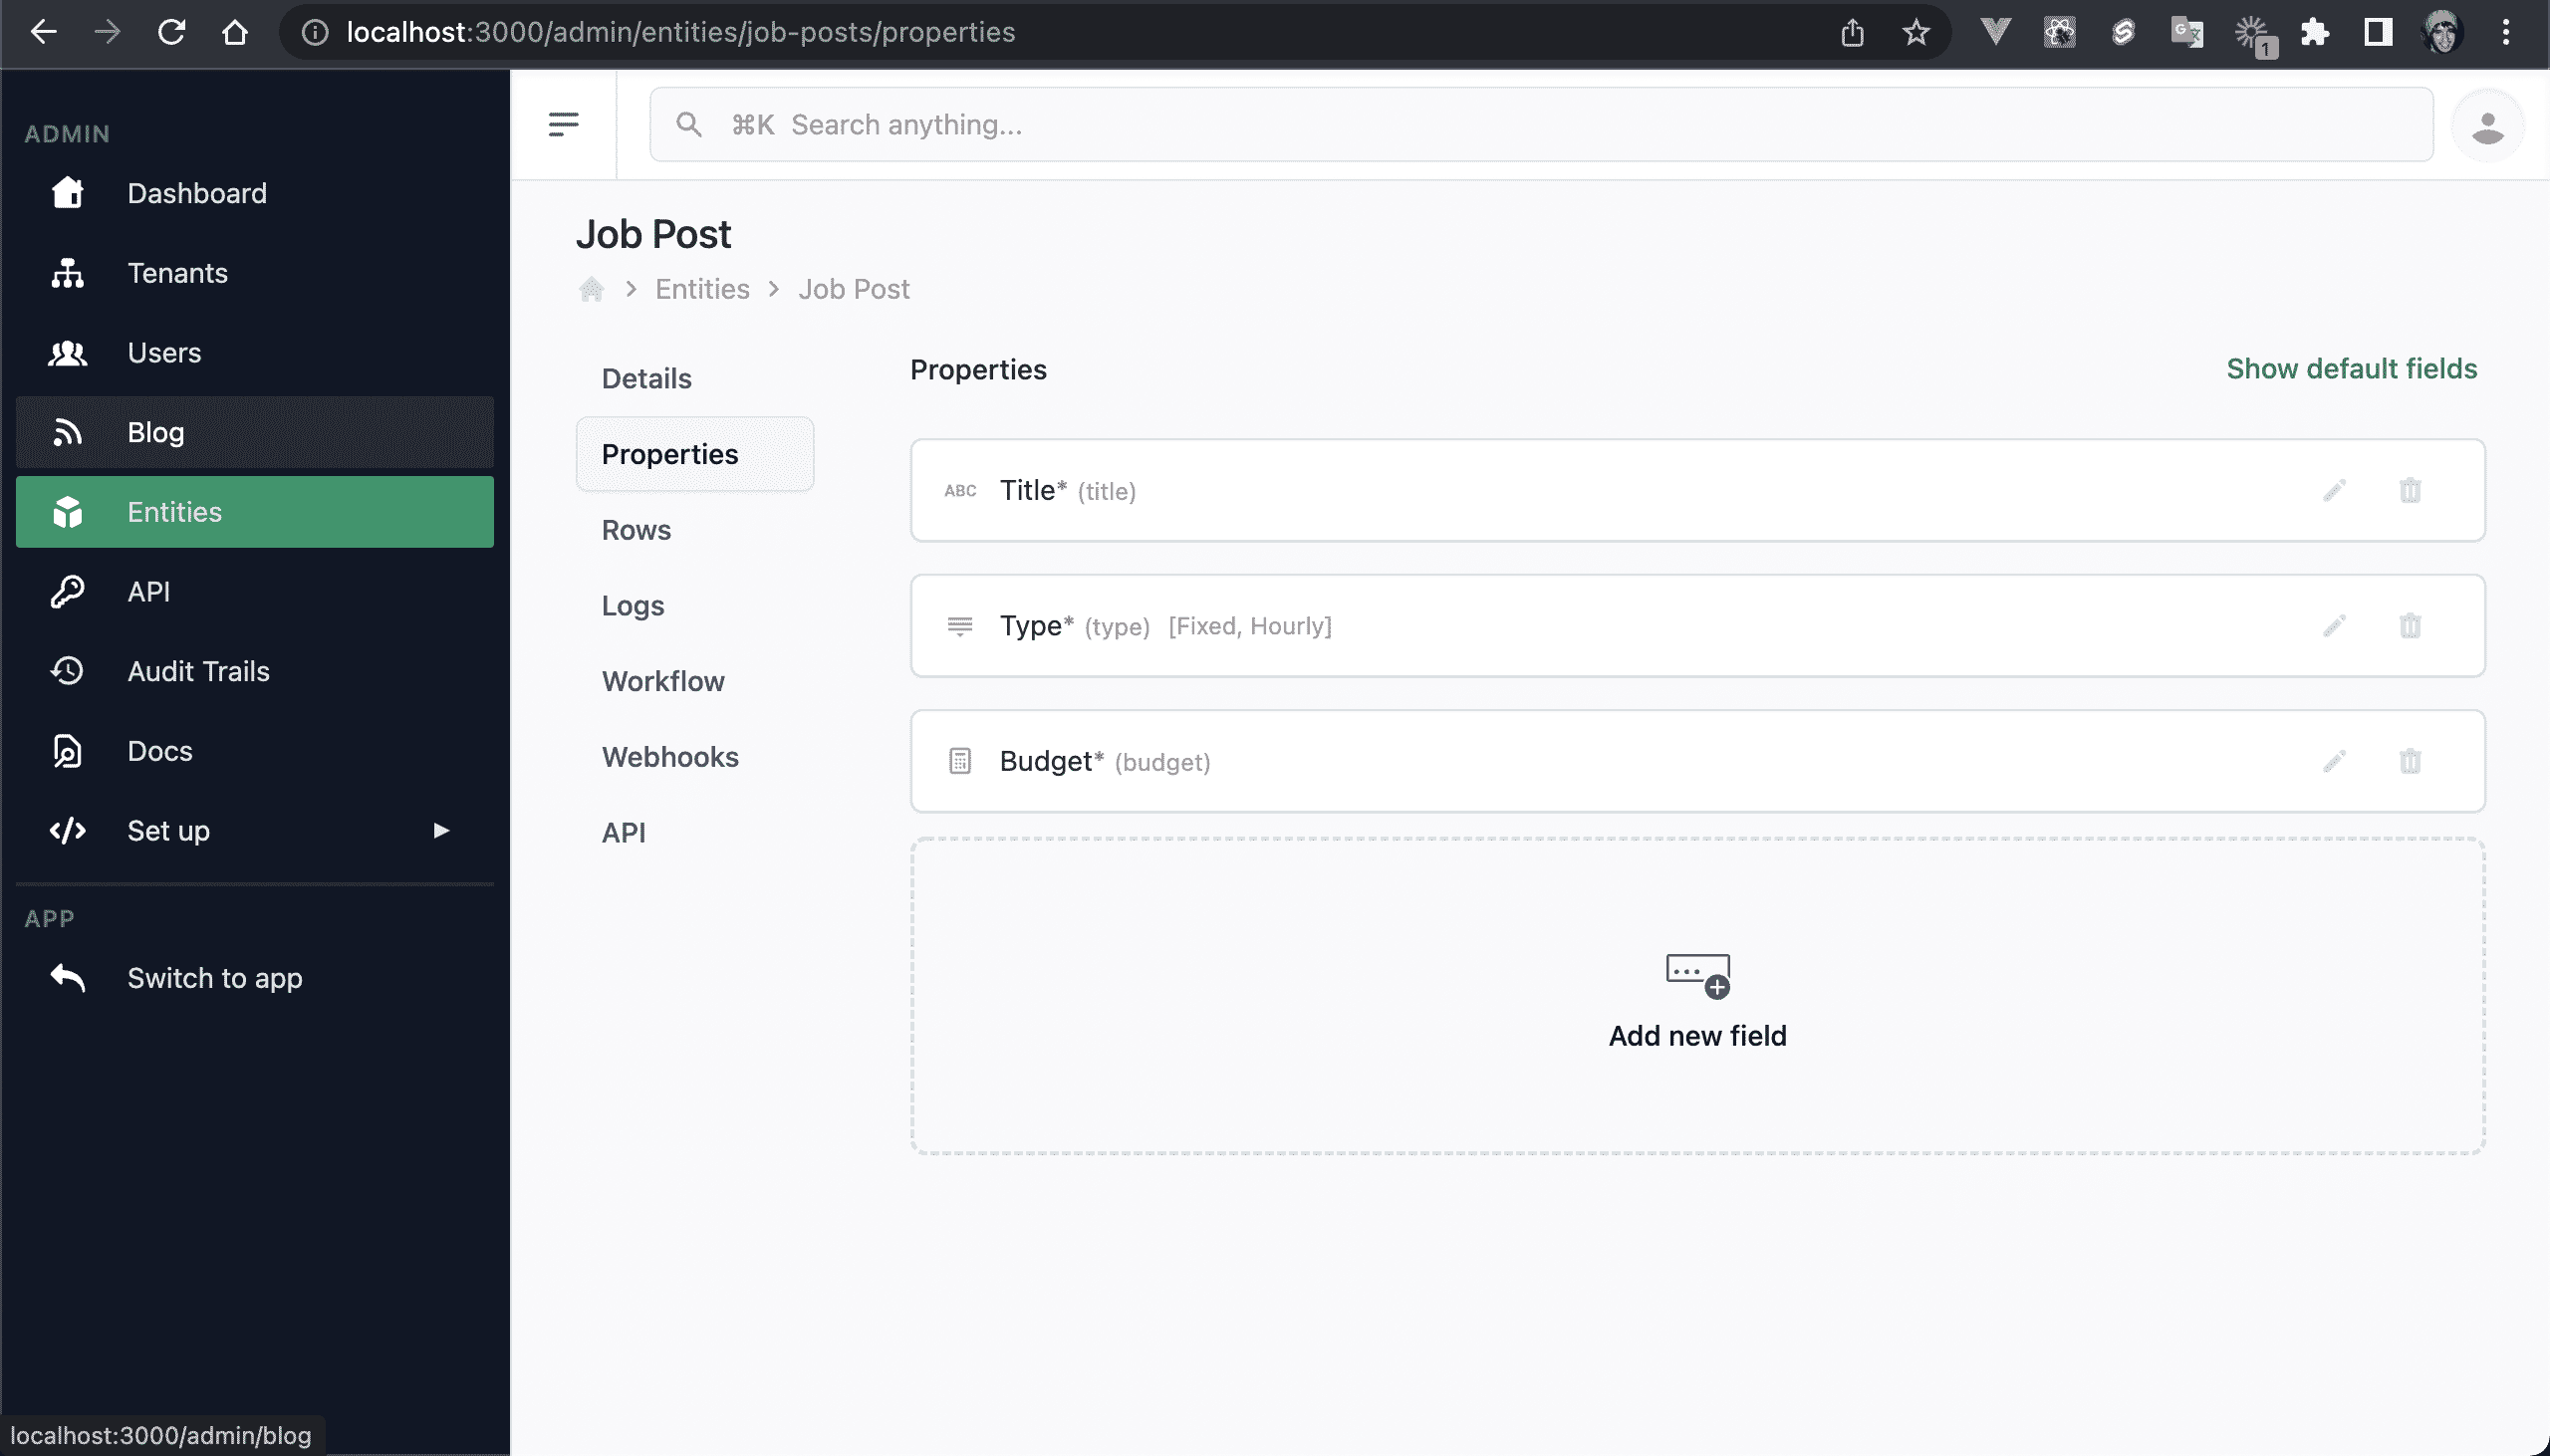
You should have at least these 3 properties:
💿 Add a Job Post.

There will be an error, since we're trying to access the properties for an object that is not included on the database query (e.g. row.jobPost.title).
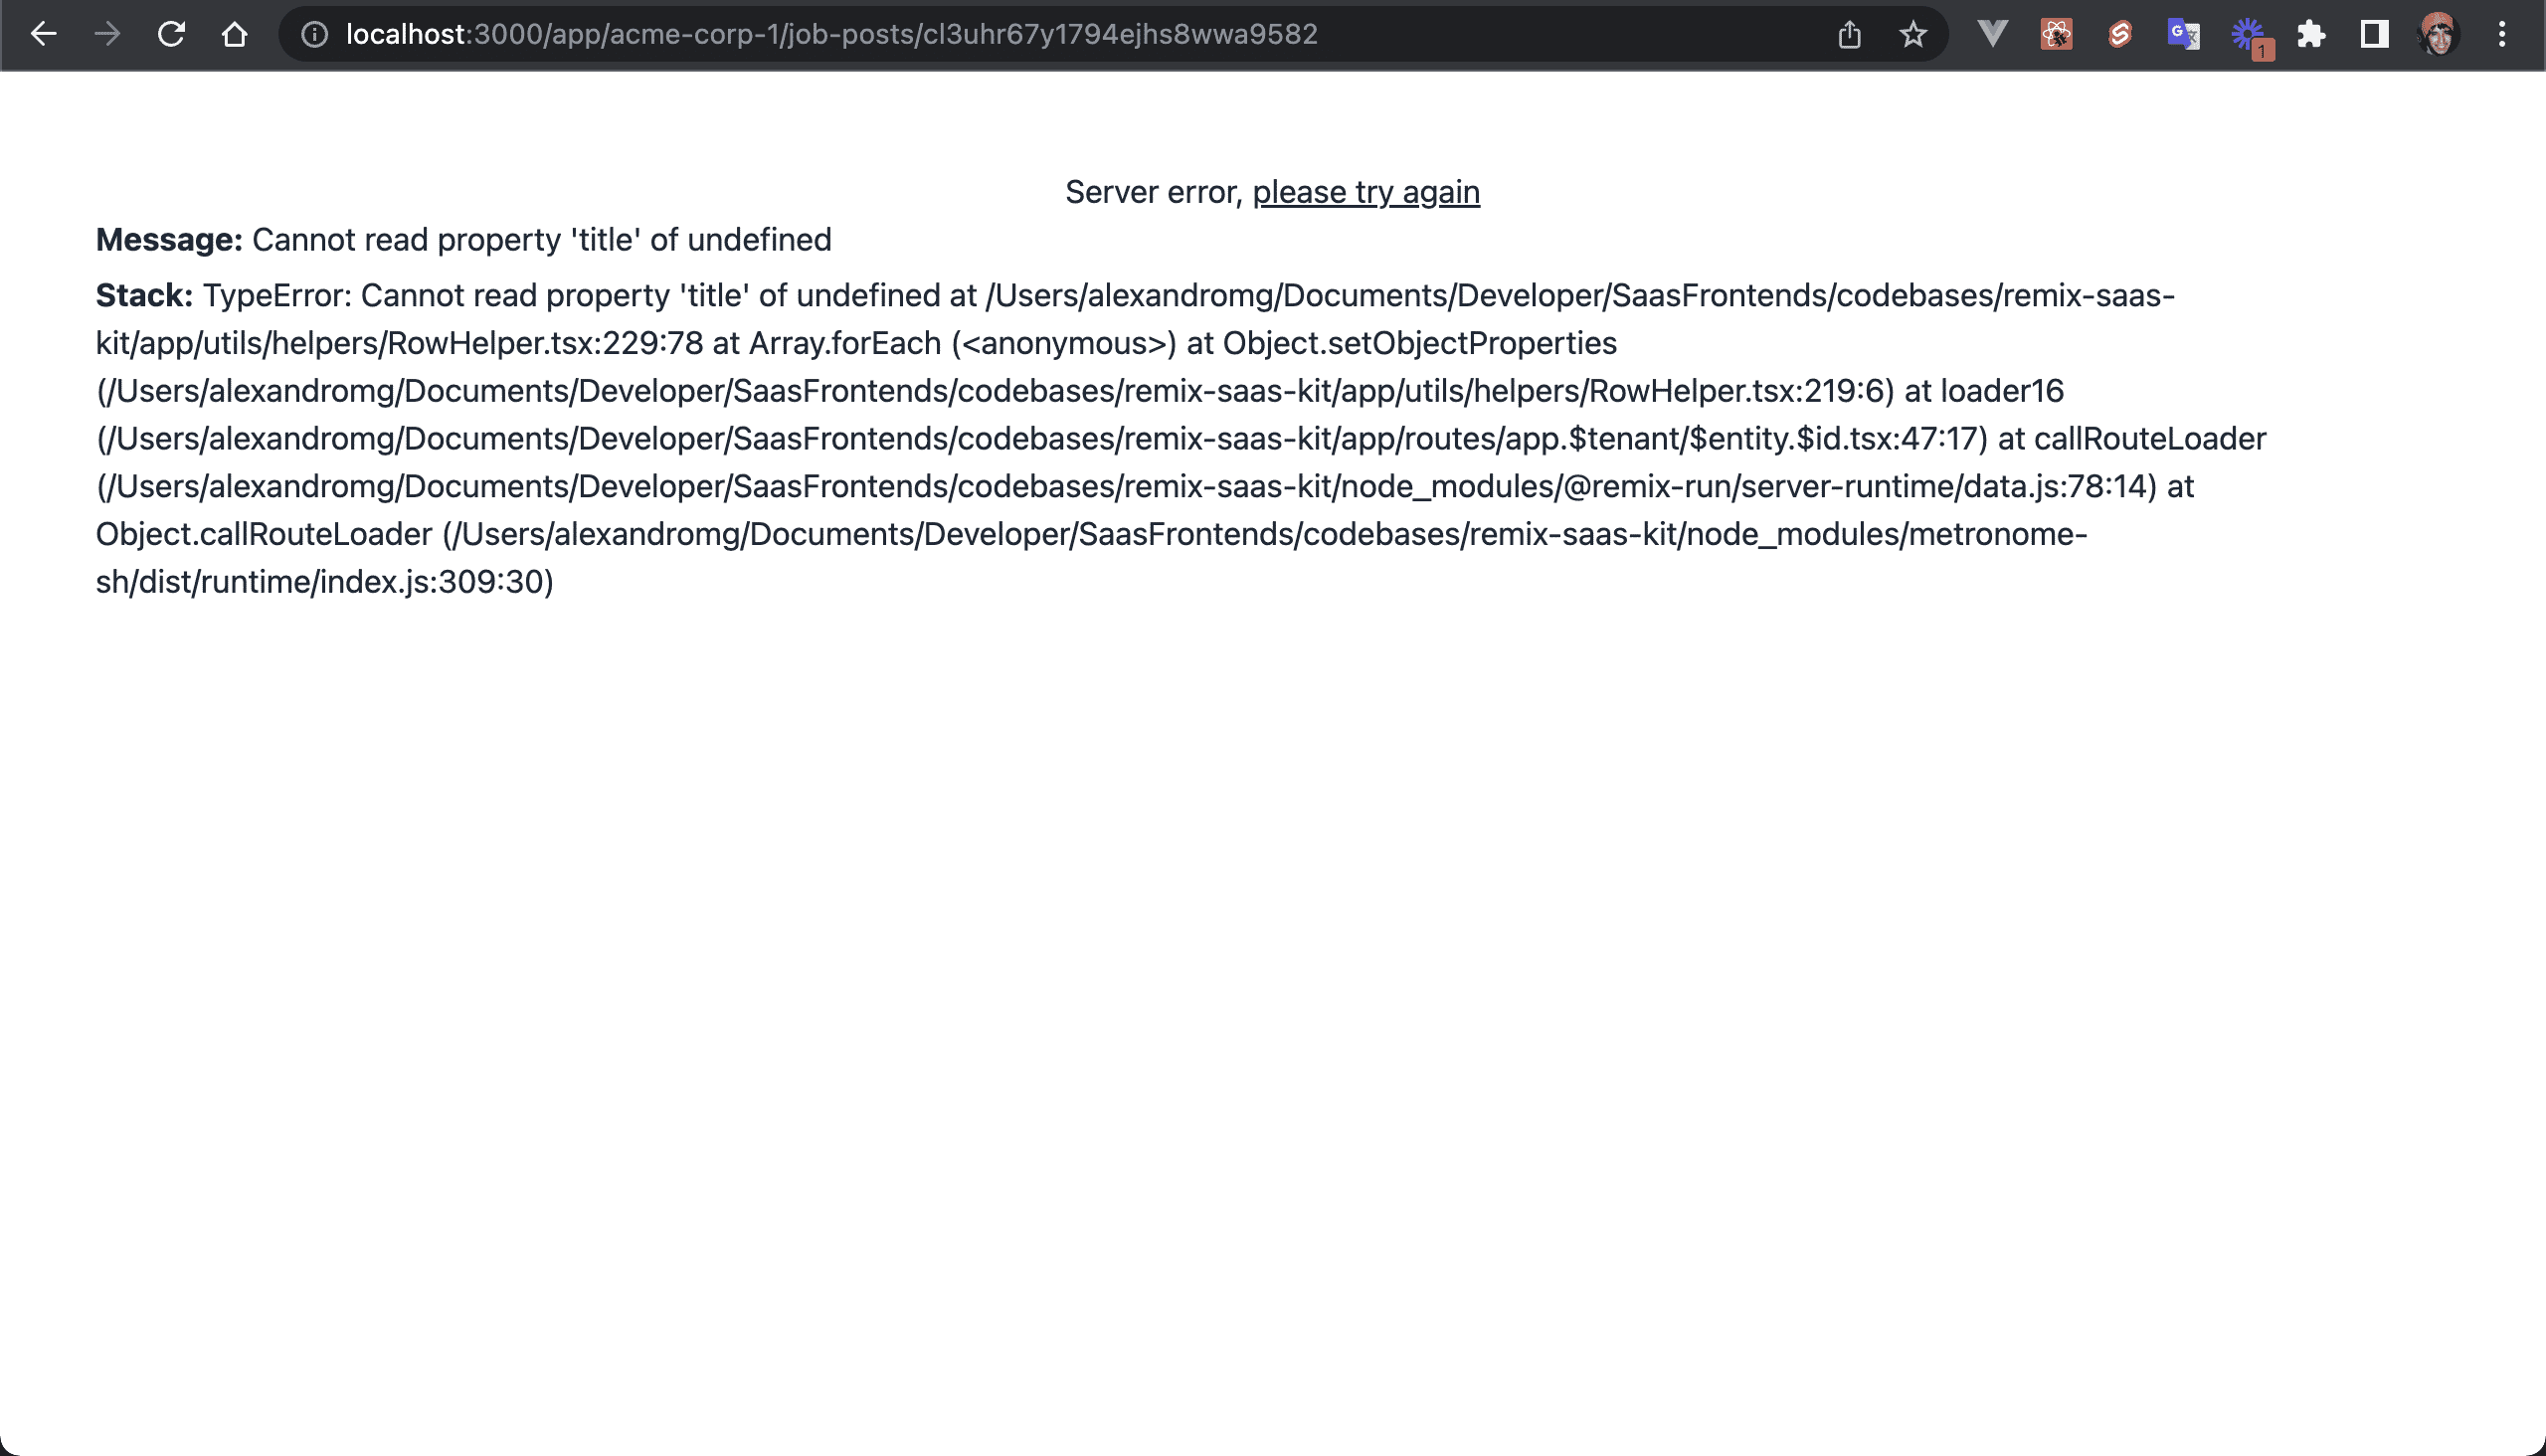
💿 Add the jobPost property to the includeRowDetails constant:
export const includeRowDetails = {
+ jobPost: true,
  createdByUser: true,
💿 Reload the job post.
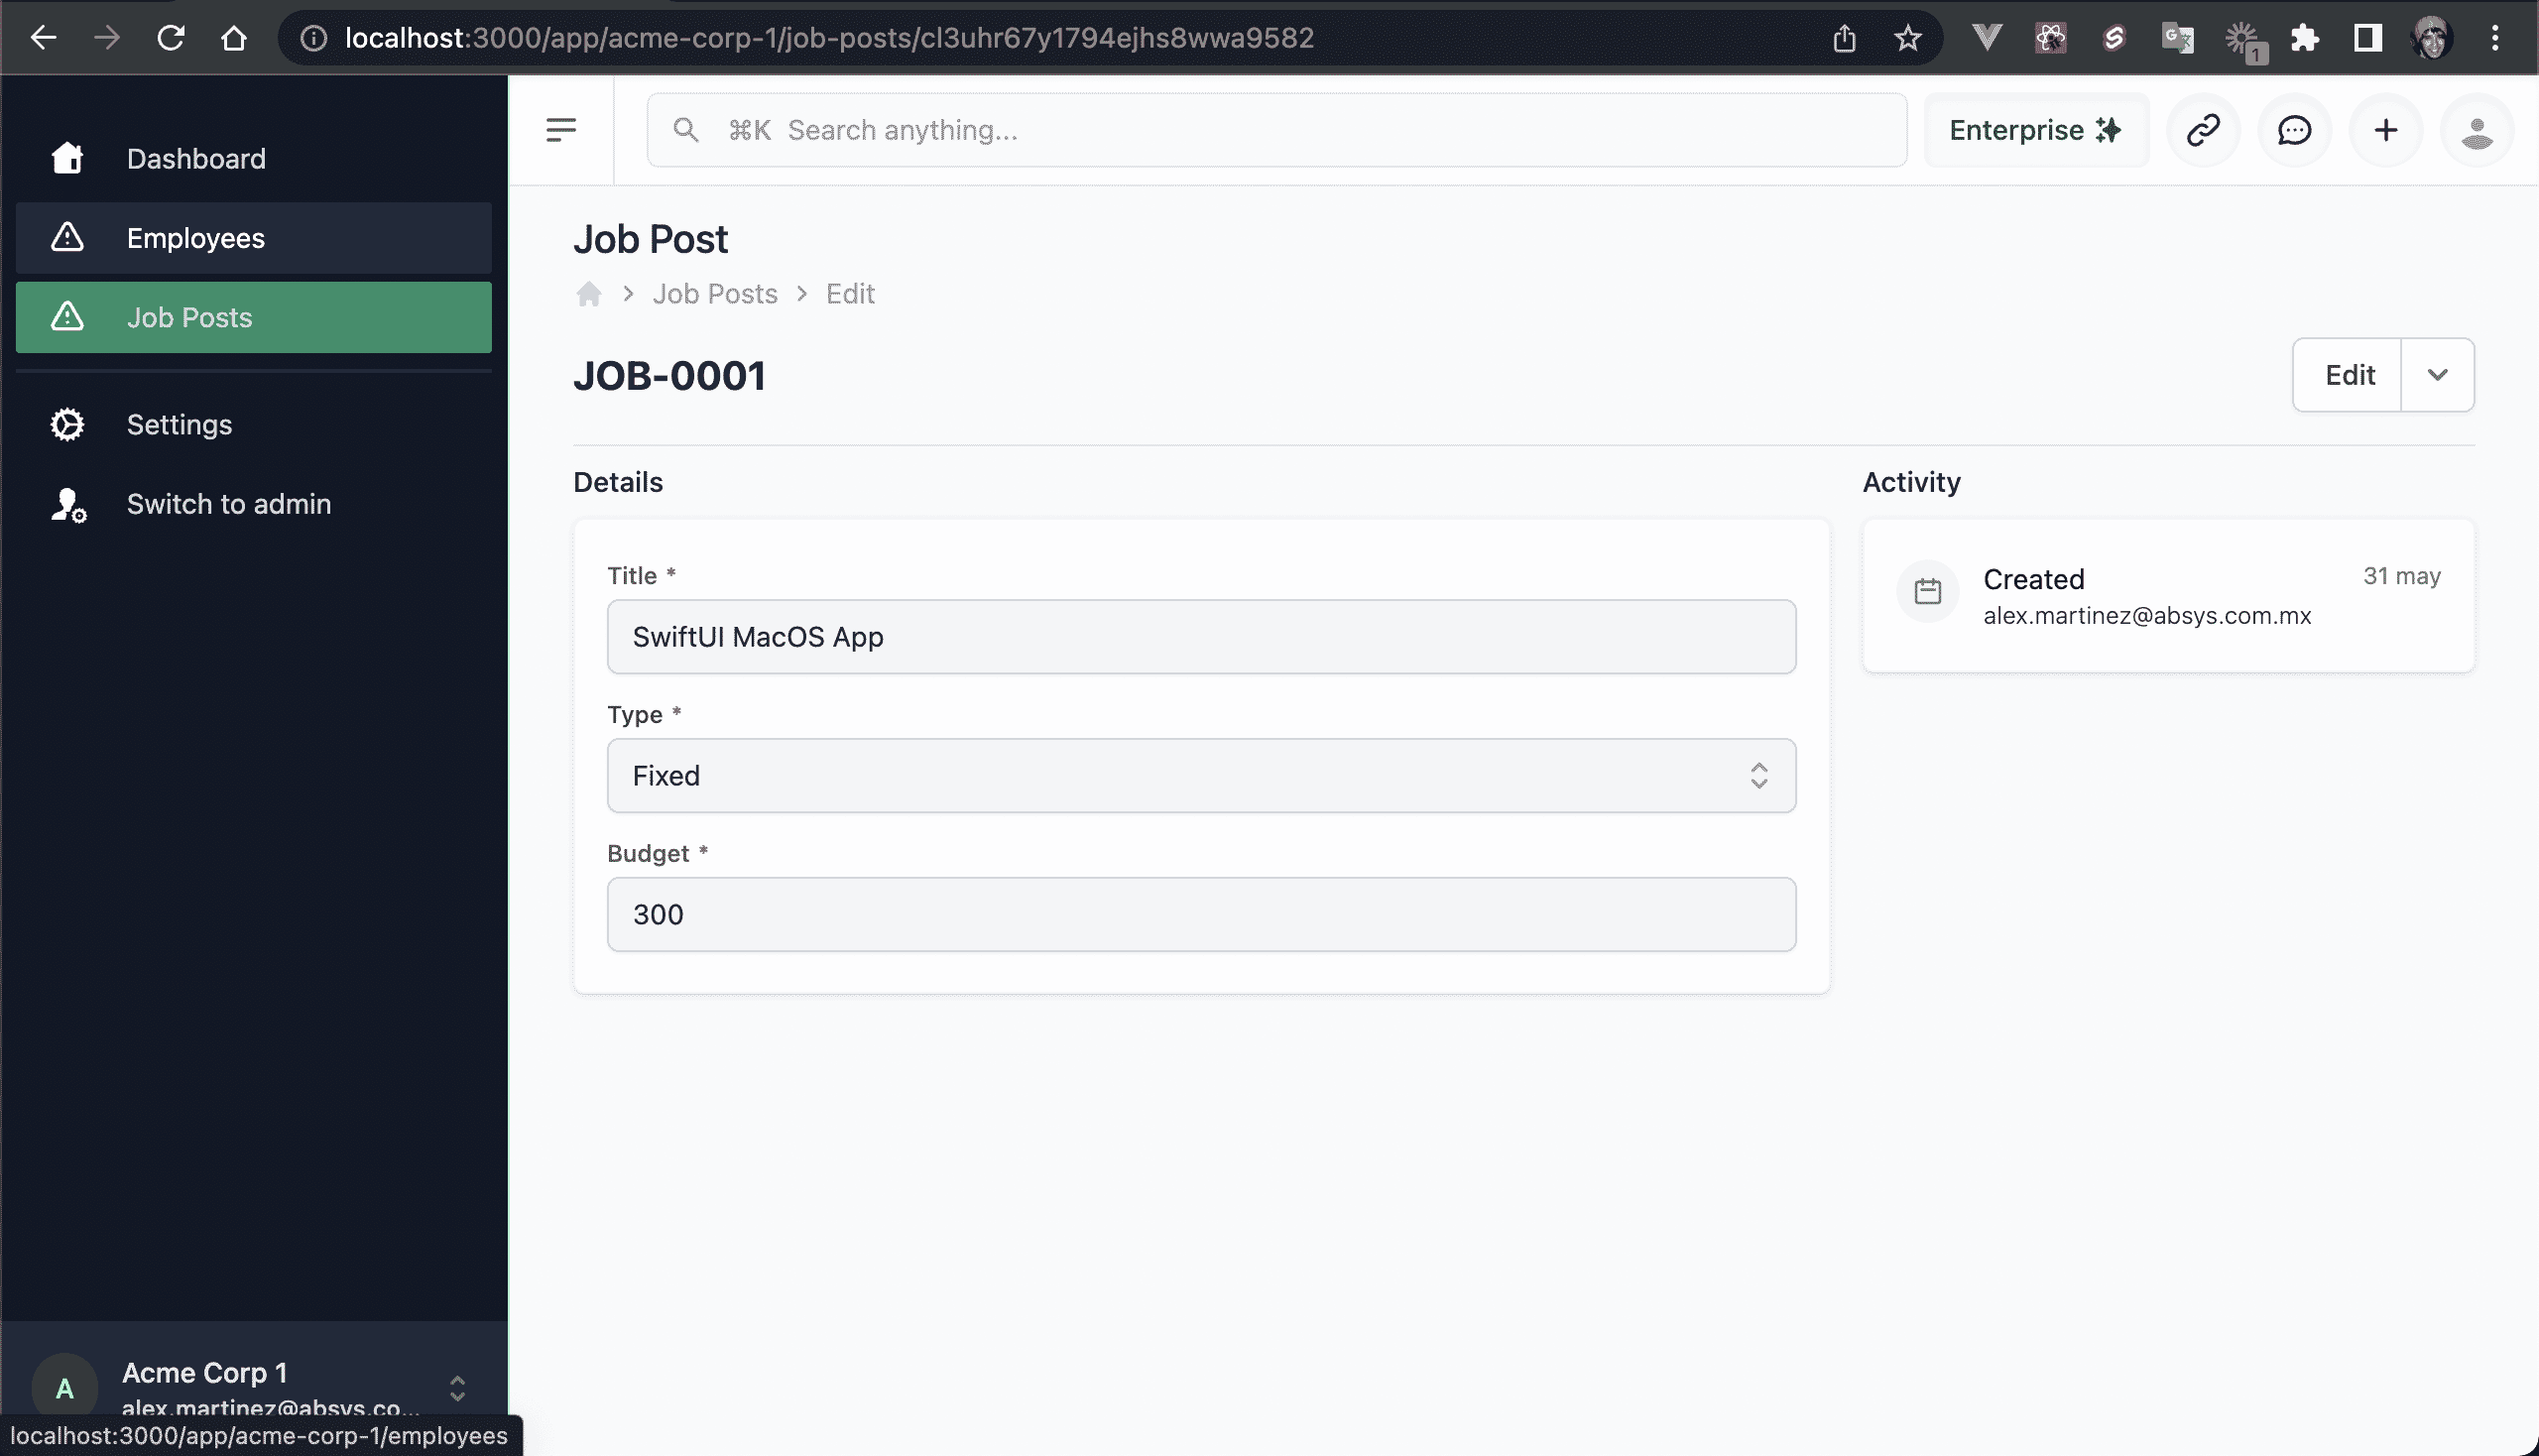
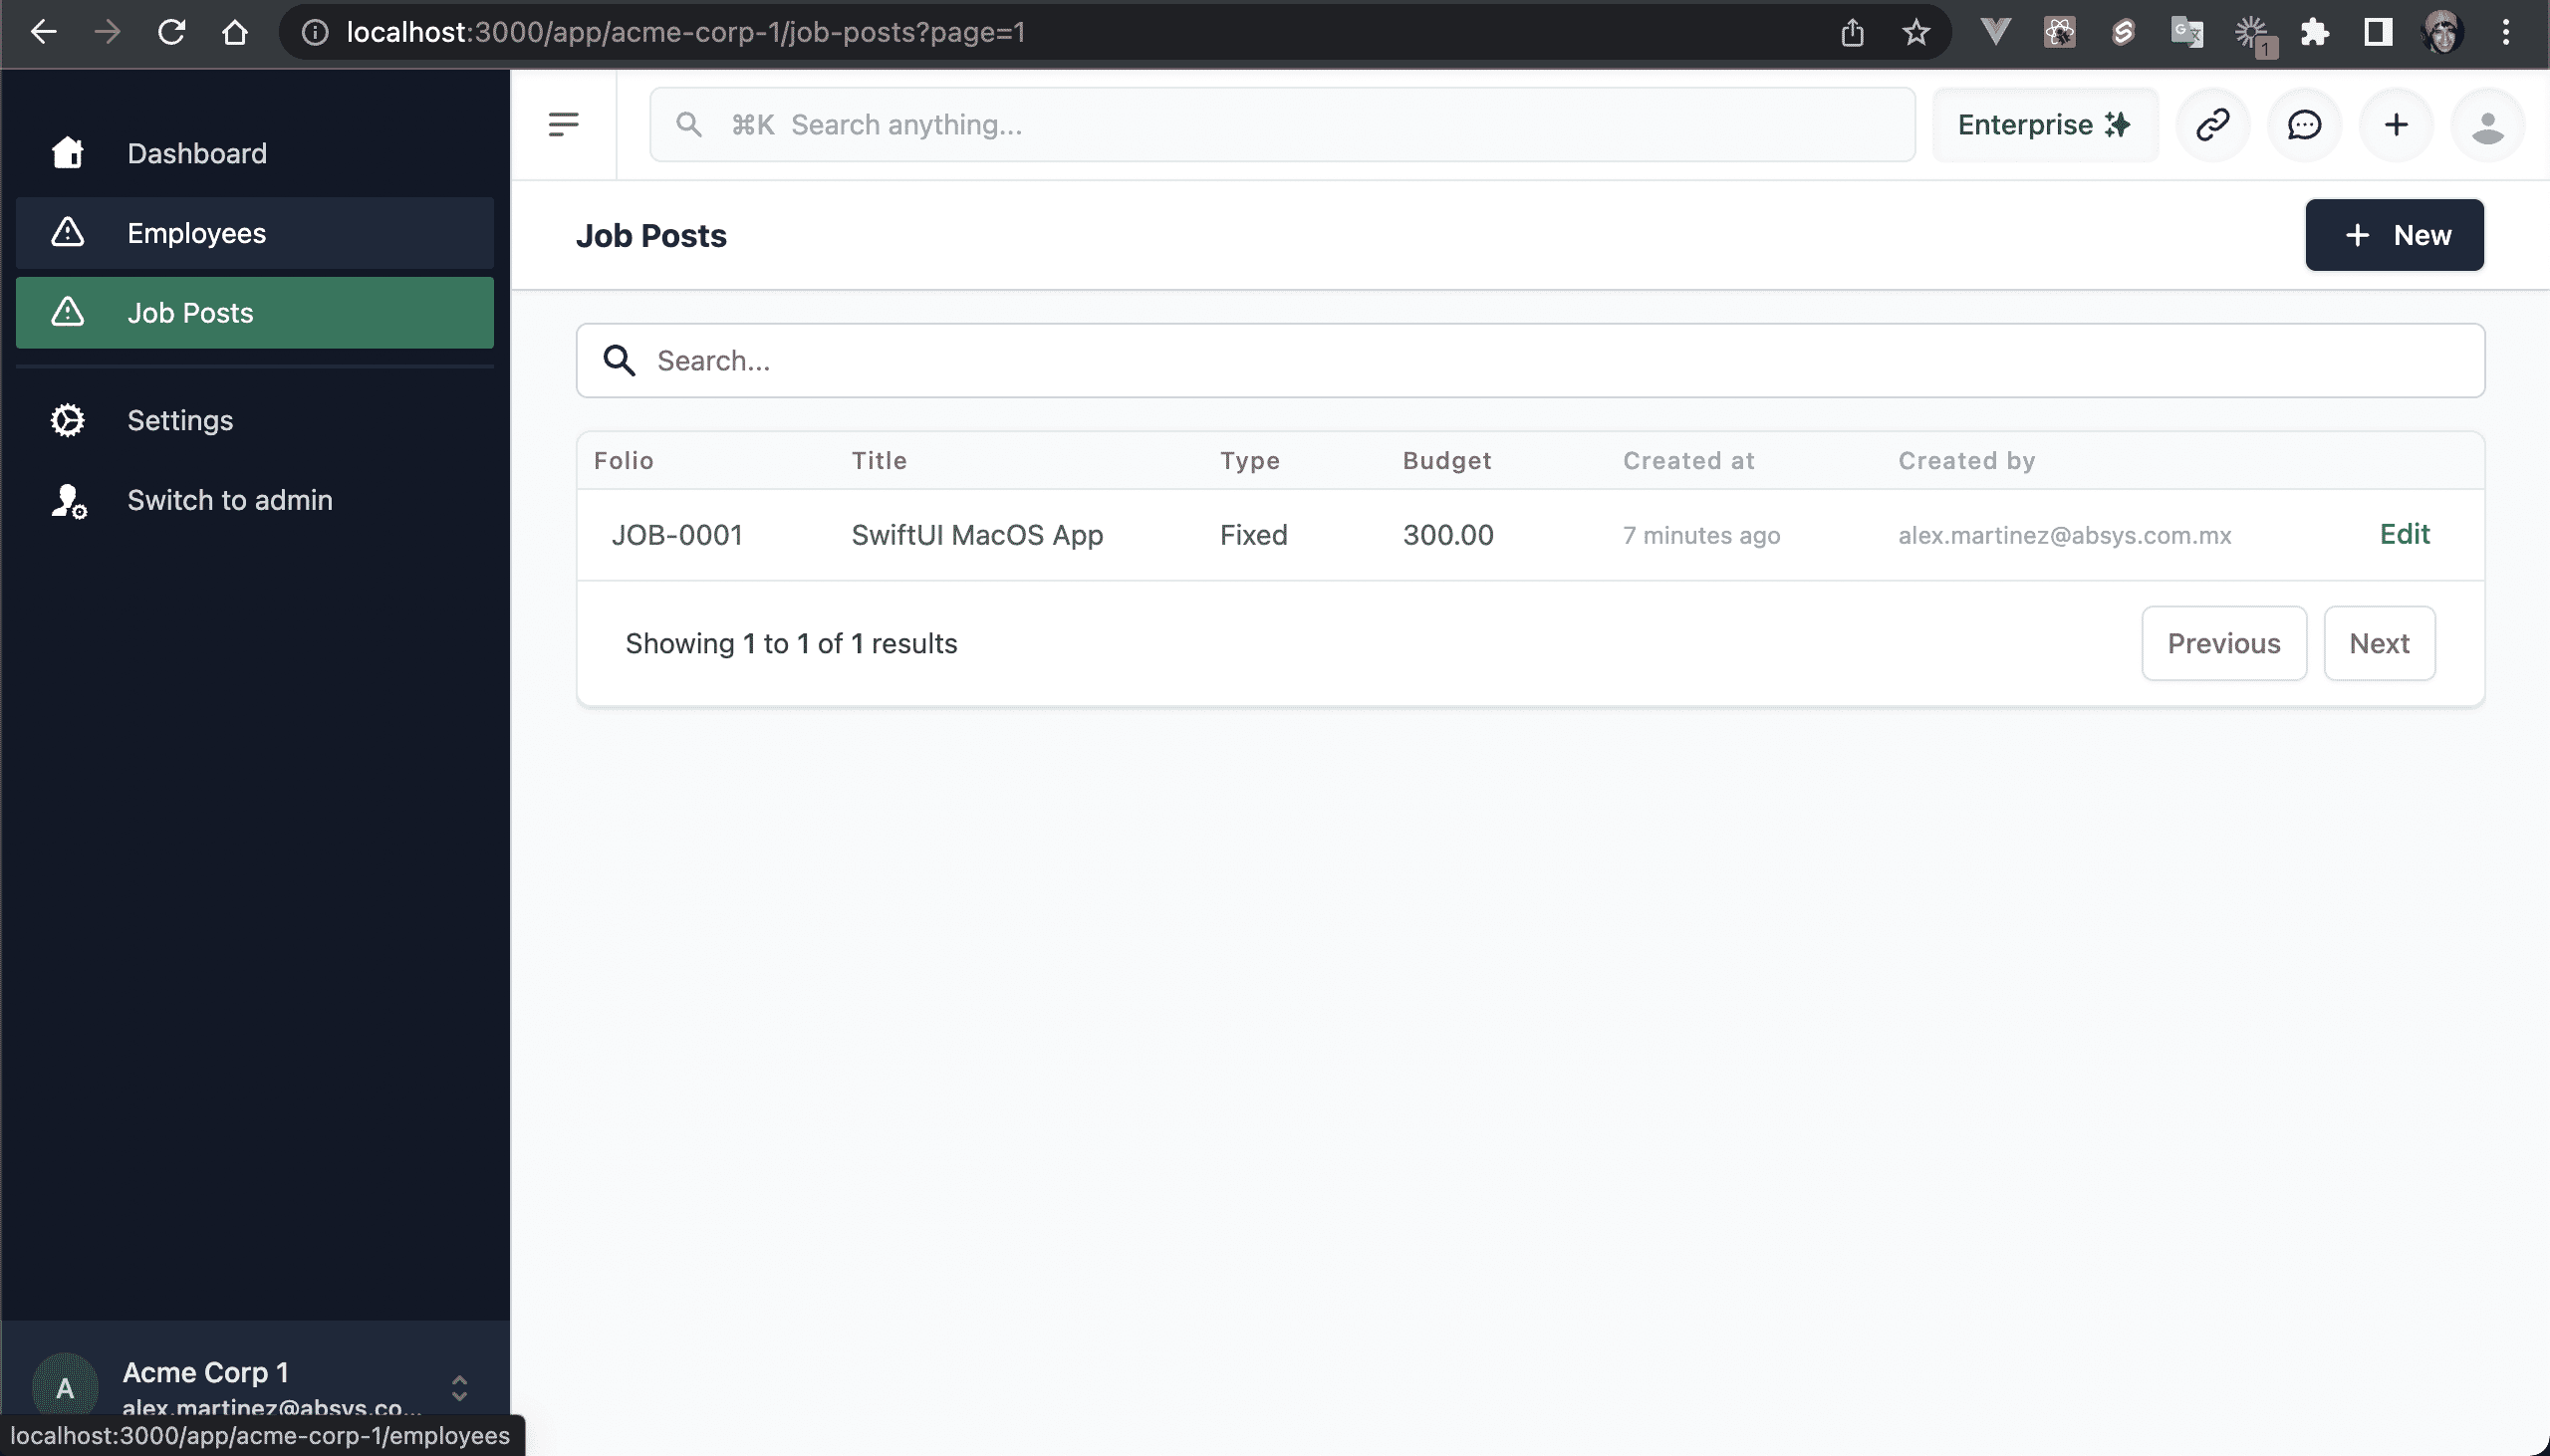
💿 List all the Job Posts.
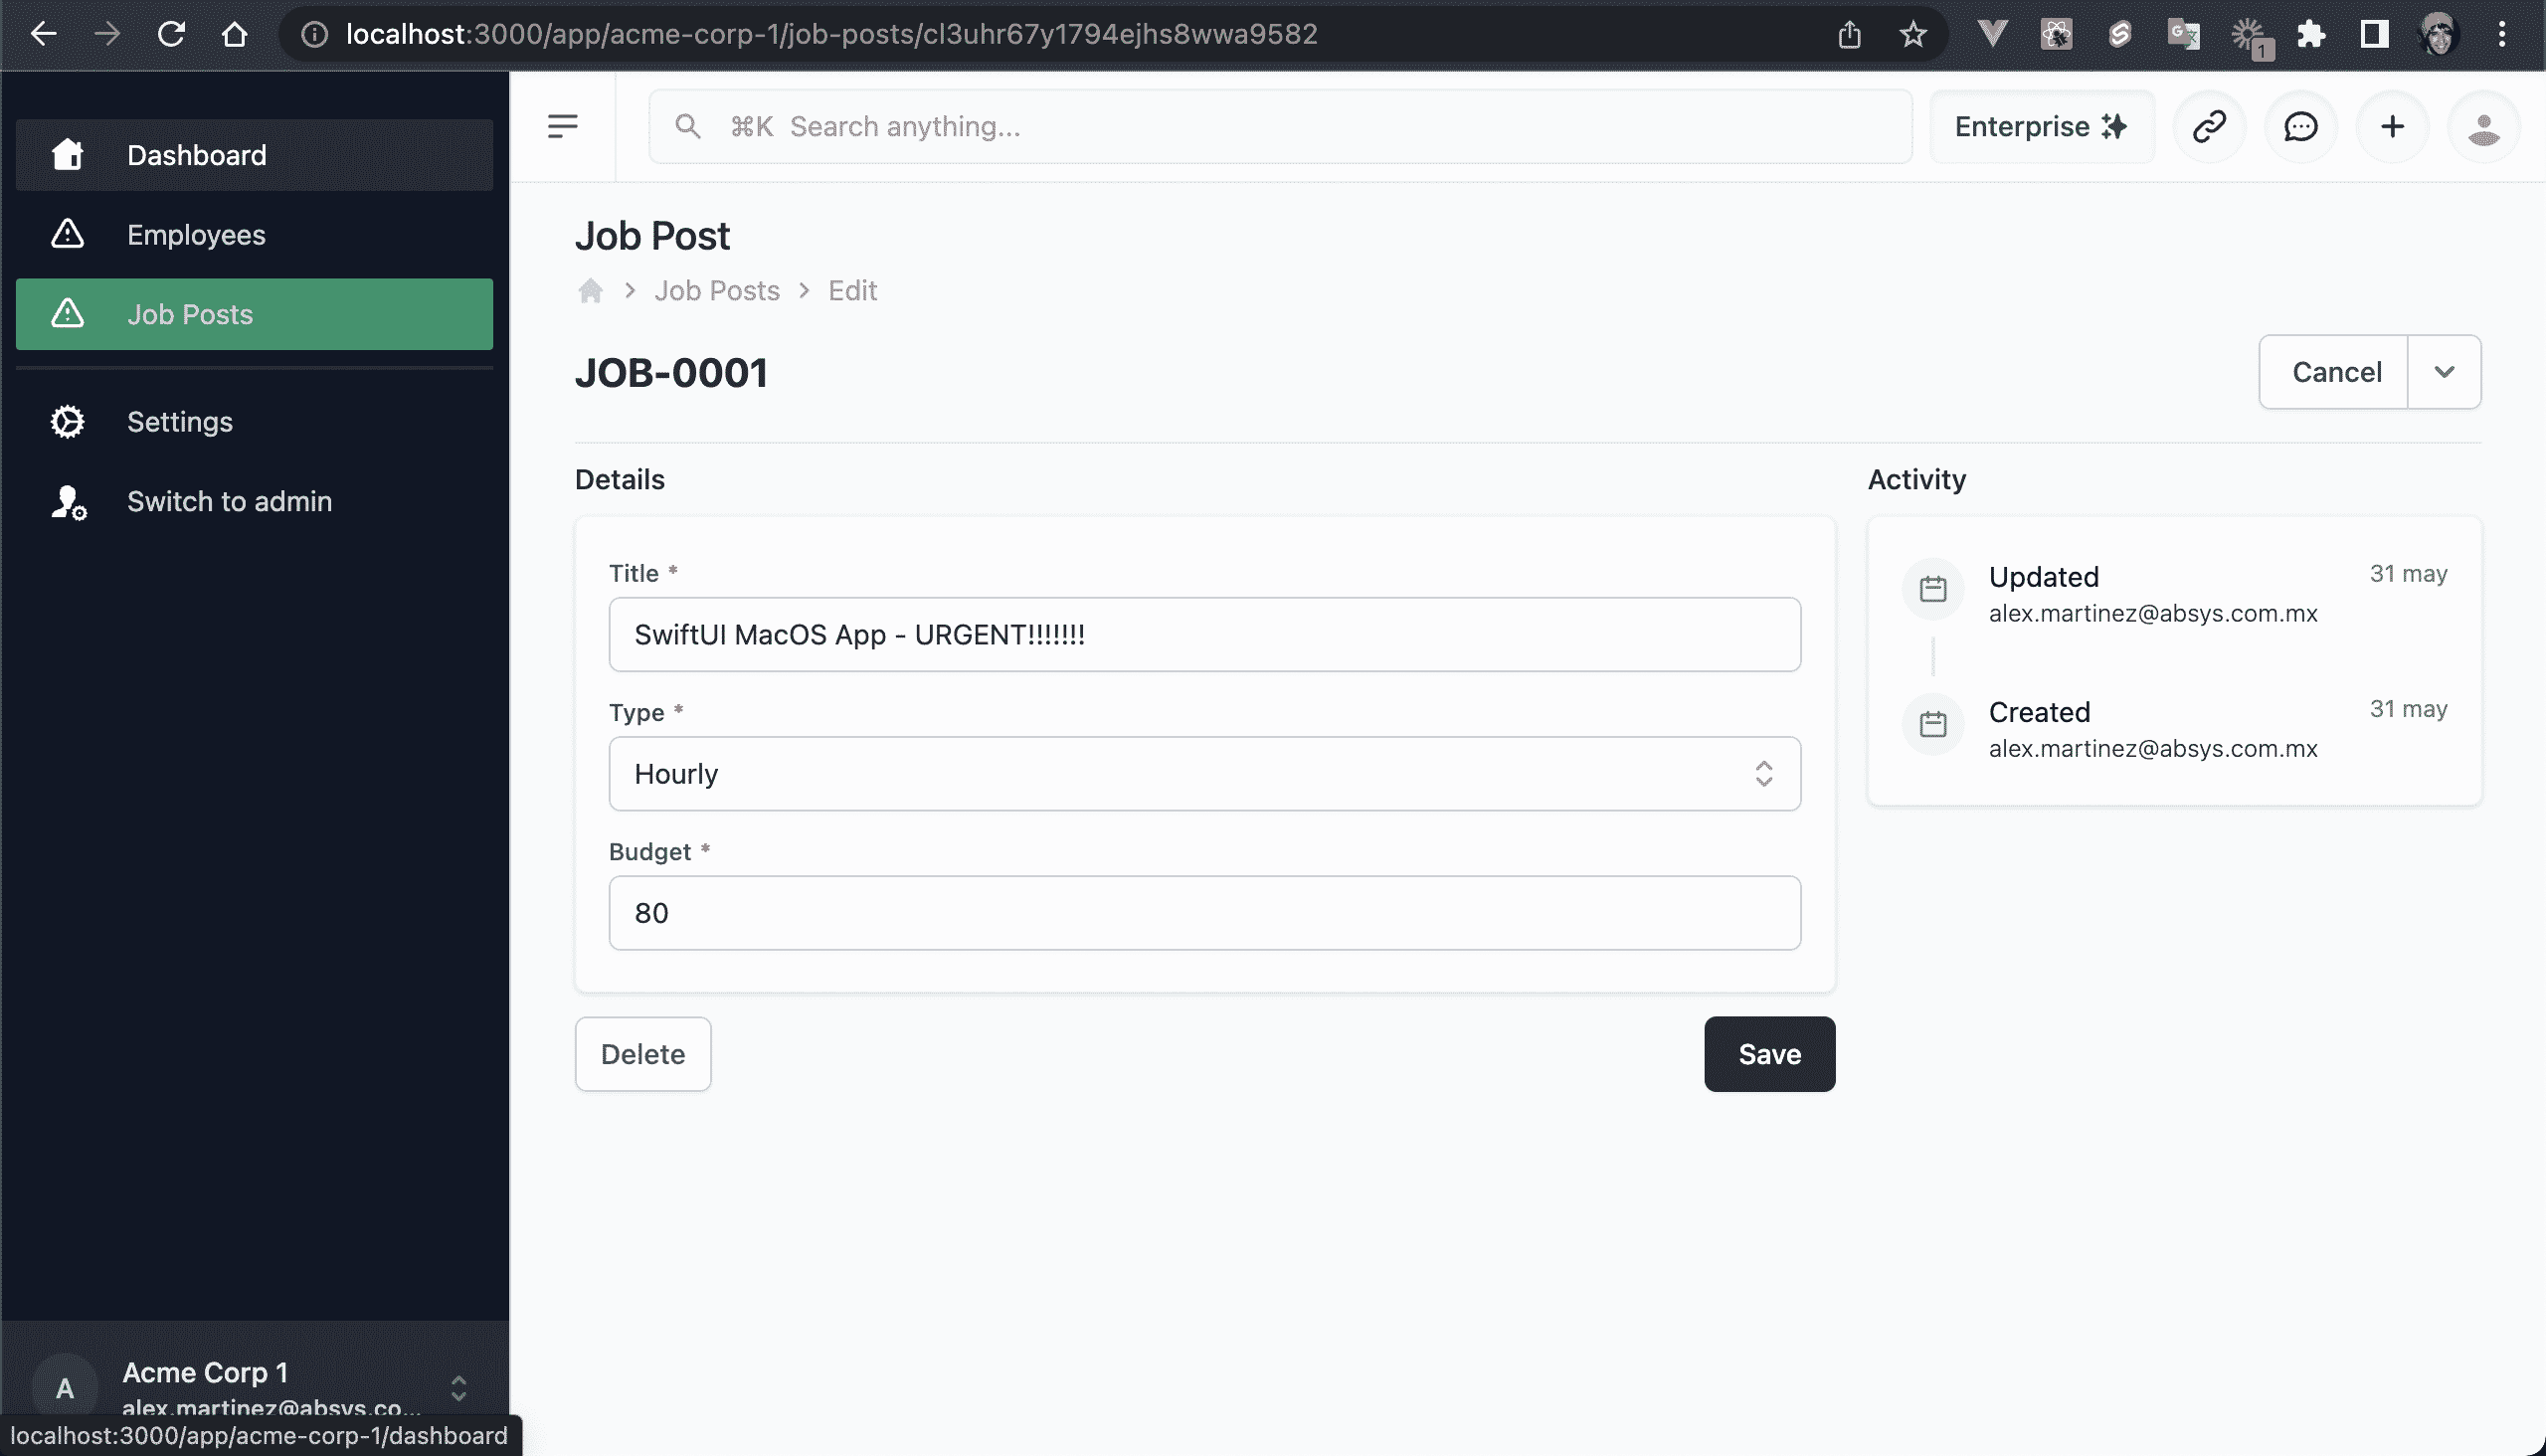
💿 Update all the fields.
💿 Open a new terminal window an run prisma studio to browser the JobPosts model/table rows.
npx prisma studio

💿 Finally, delete the job post.

I hope this quick guide was useful! Let me know if you have any questions.
