Deploy Remix to AWS Lightsail with Docker
Deploy your Remix app to Amazon Lightsail Containers using Docker
- Author
- by Alexandro Martínez
- 1.7 years ago
TLDR: Watch the video instead.
Before getting started, make sure to meet the following requirements:
Install Docker Desktop
Create an AWS account
Install AWS CLI
Install the Lightsail container services plugin
1) Set up Docker-related files
Dockerfile:
#!/bin/bash

FROM --platform=linux/amd64 node:18-bookworm-slim as base
ENV NODE_ENV production
RUN apt-get update && apt-get install -y openssl
FROM base as deps
WORKDIR /myapp
ADD package.json ./
RUN npm install --production=false --legacy-peer-deps
FROM base as production-deps
WORKDIR /myapp
COPY --from=deps /myapp/node_modules /myapp/node_modules
ADD package.json ./
RUN npm prune --production --legacy-peer-deps
FROM base as build
WORKDIR /myapp
COPY --from=deps /myapp/node_modules /myapp/node_modules
ADD prisma .
RUN npx prisma generate
ADD . .
RUN npm run build
FROM base
ENV PORT="8080"
ENV NODE_ENV="production"
WORKDIR /myapp
COPY --from=production-deps /myapp/node_modules /myapp/node_modules
COPY --from=build /myapp/node_modules/.prisma /myapp/node_modules/.prisma
COPY --from=build /myapp/build /myapp/build
COPY --from=build /myapp/public /myapp/public
COPY --from=build /myapp/package.json /myapp/package.json
COPY --from=build /myapp/start.sh /myapp/start.sh
COPY --from=build /myapp/prisma /myapp/prisma
RUN chmod +x /myapp/start.sh
CMD ["./start.sh"]
If you're wondering why I'm using
--legacy-peer-depsit's because React 19 hasn't released yet, and some libraries complain on version mismatch.
package.json:
{
  ...
  "scripts": {
    ...
    "build": "remix vite:build",
    "start": "remix-serve ./build/index.js"
  },
  "dependencies": {
    ...
  },
  "devDependencies": {
    ...
  }
}start.sh:
#!/bin/sh
npm run start
The #!/bin/sh line is to make the file compatible accross operating systems.
.dockerignore:
/node_modules
*.log
.DS_Store
.env
/.cache
/public/build
/build
2) Building the Image
Ensure that your docker image can be built correctly:
docker build -t saasrock-dev .After it's built, you should have the image displayed on Docker Desktop:
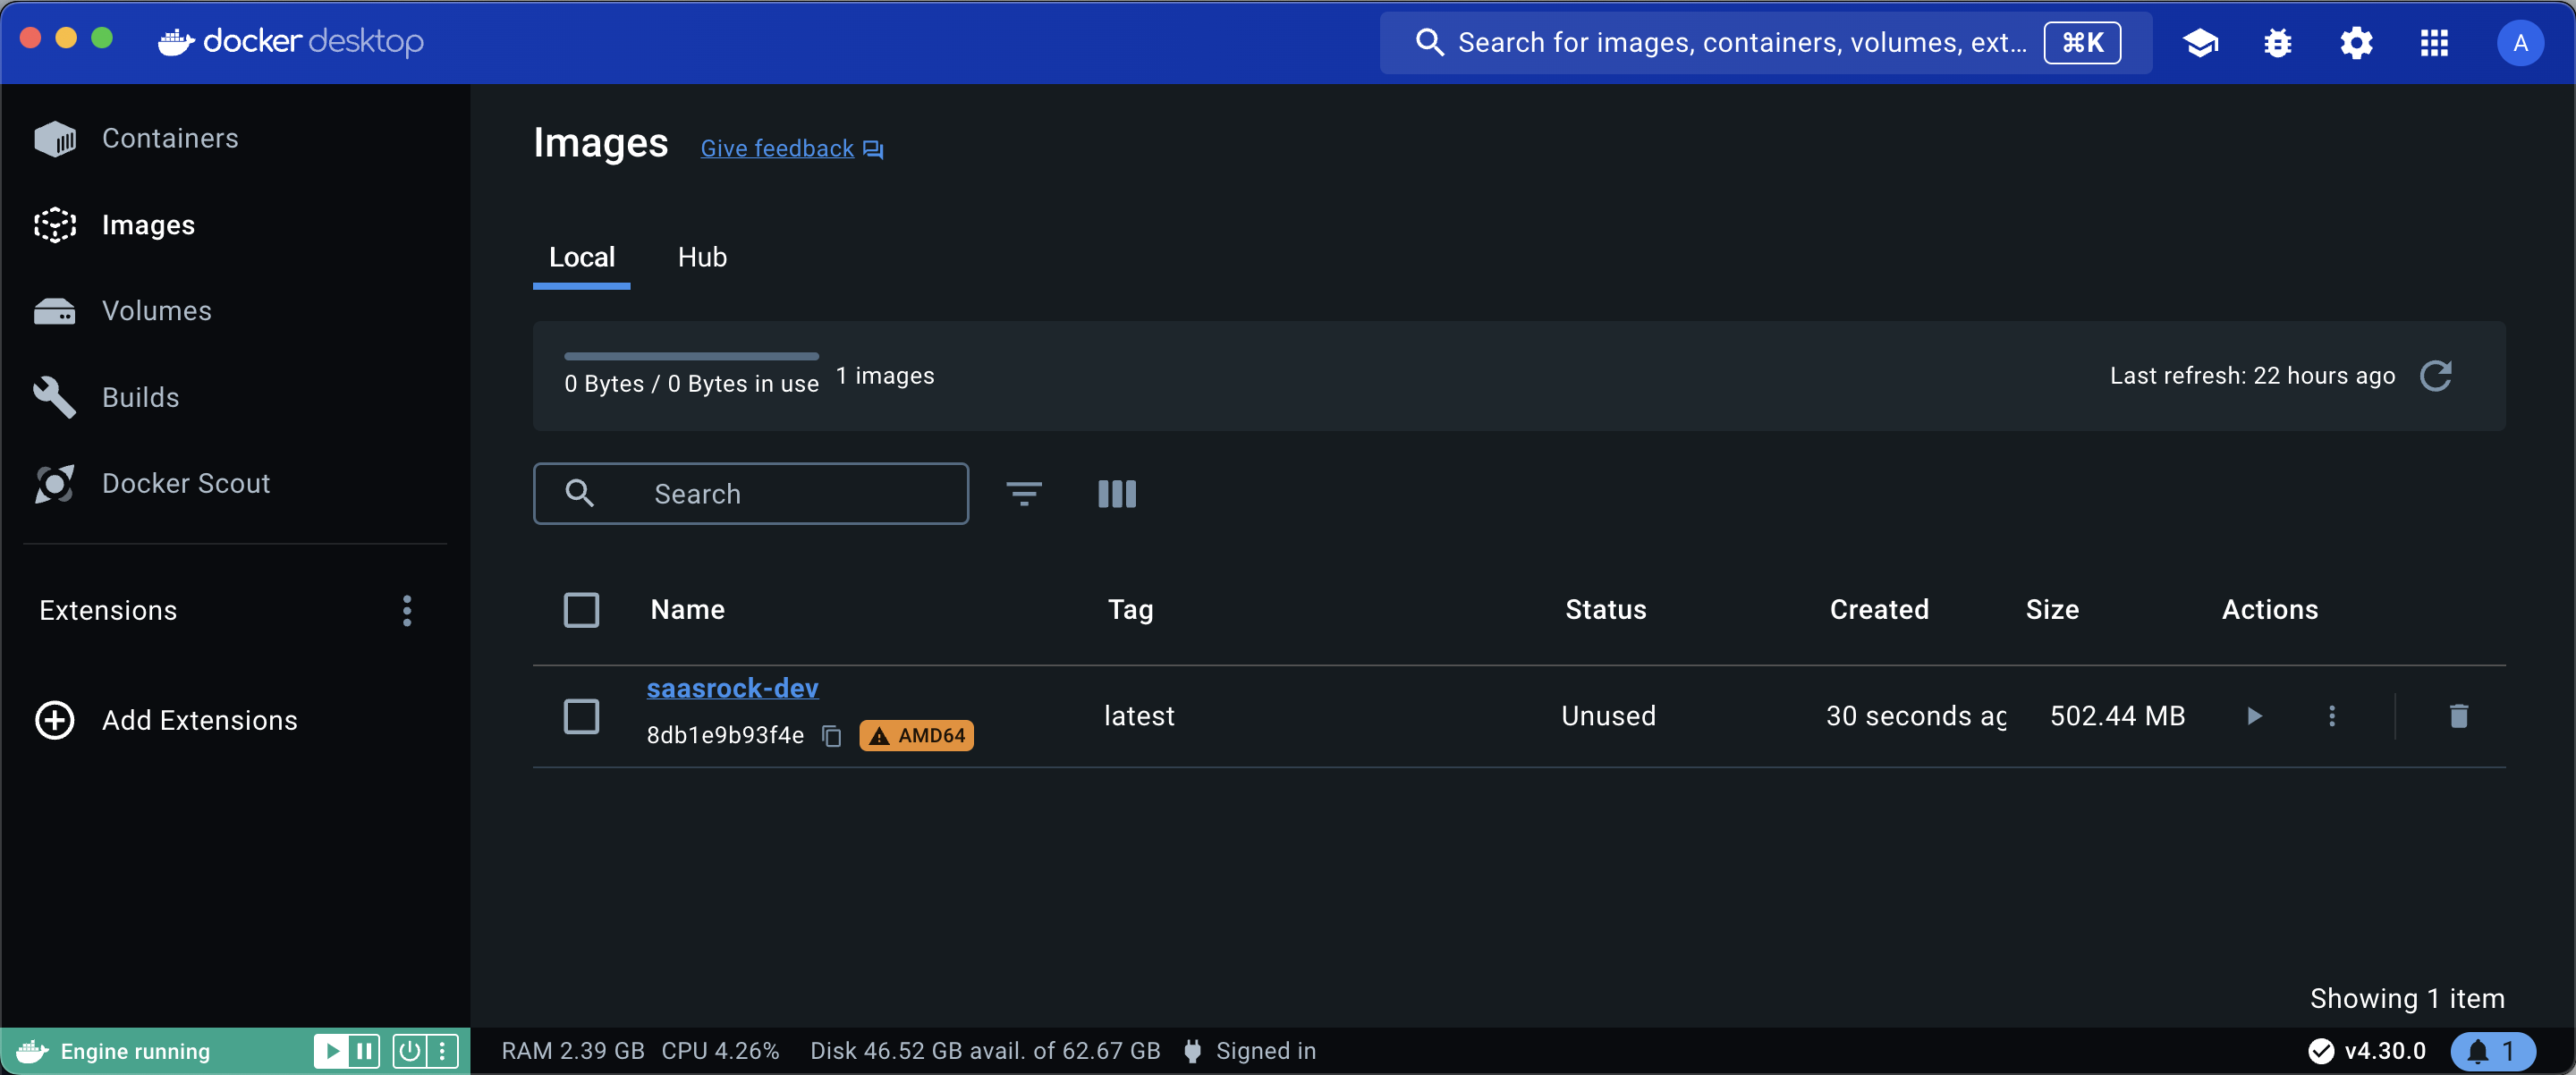
Or use the docker command:
docker images3) Testing the Container
Run the docker image in a container:
docker run -p 8080:8080 --env-file .env saasrock-dev:latestYou should have the following output or similar:

And make sure the application is running correctly at localhost:8080:
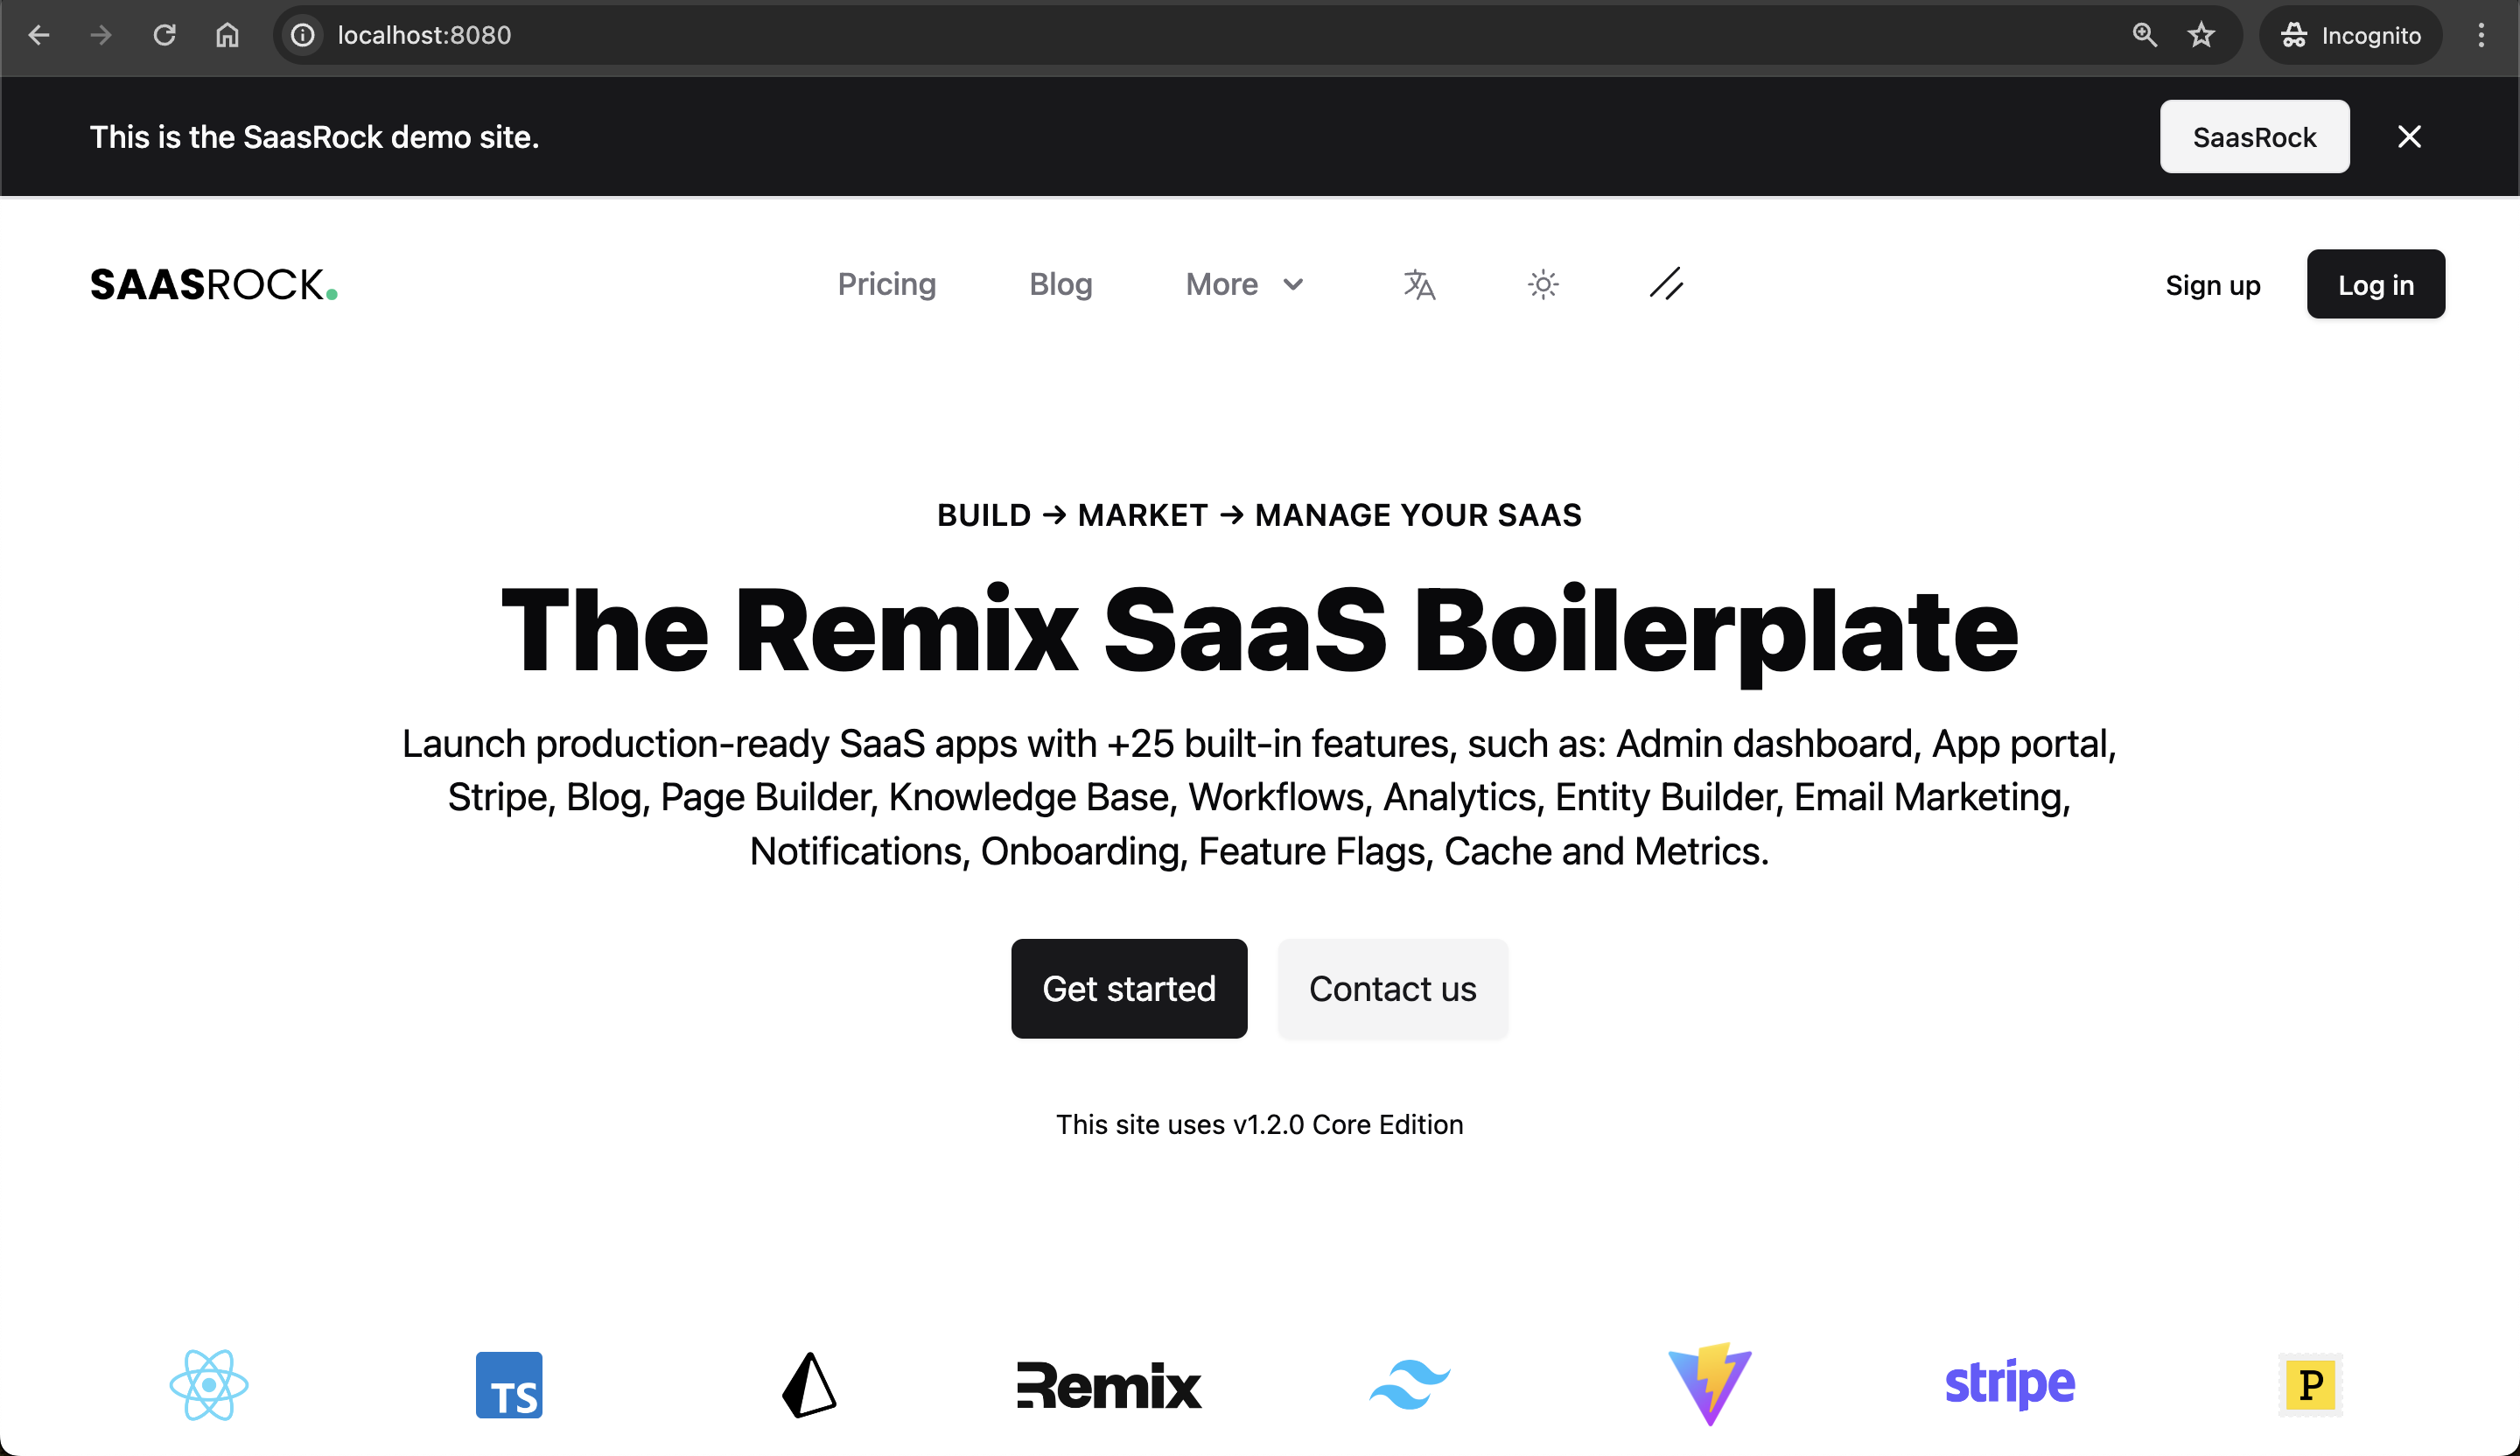
Now we're ready to deploy to AWS Lightsail.
4) Create an AWS Lightsail Container
You can either create a container service from your terminal or from the Amazon Lightsail dashboard:
aws lightsail create-container-service --region us-east-1 --service-name saasrock-dev-service --power nano --scale 1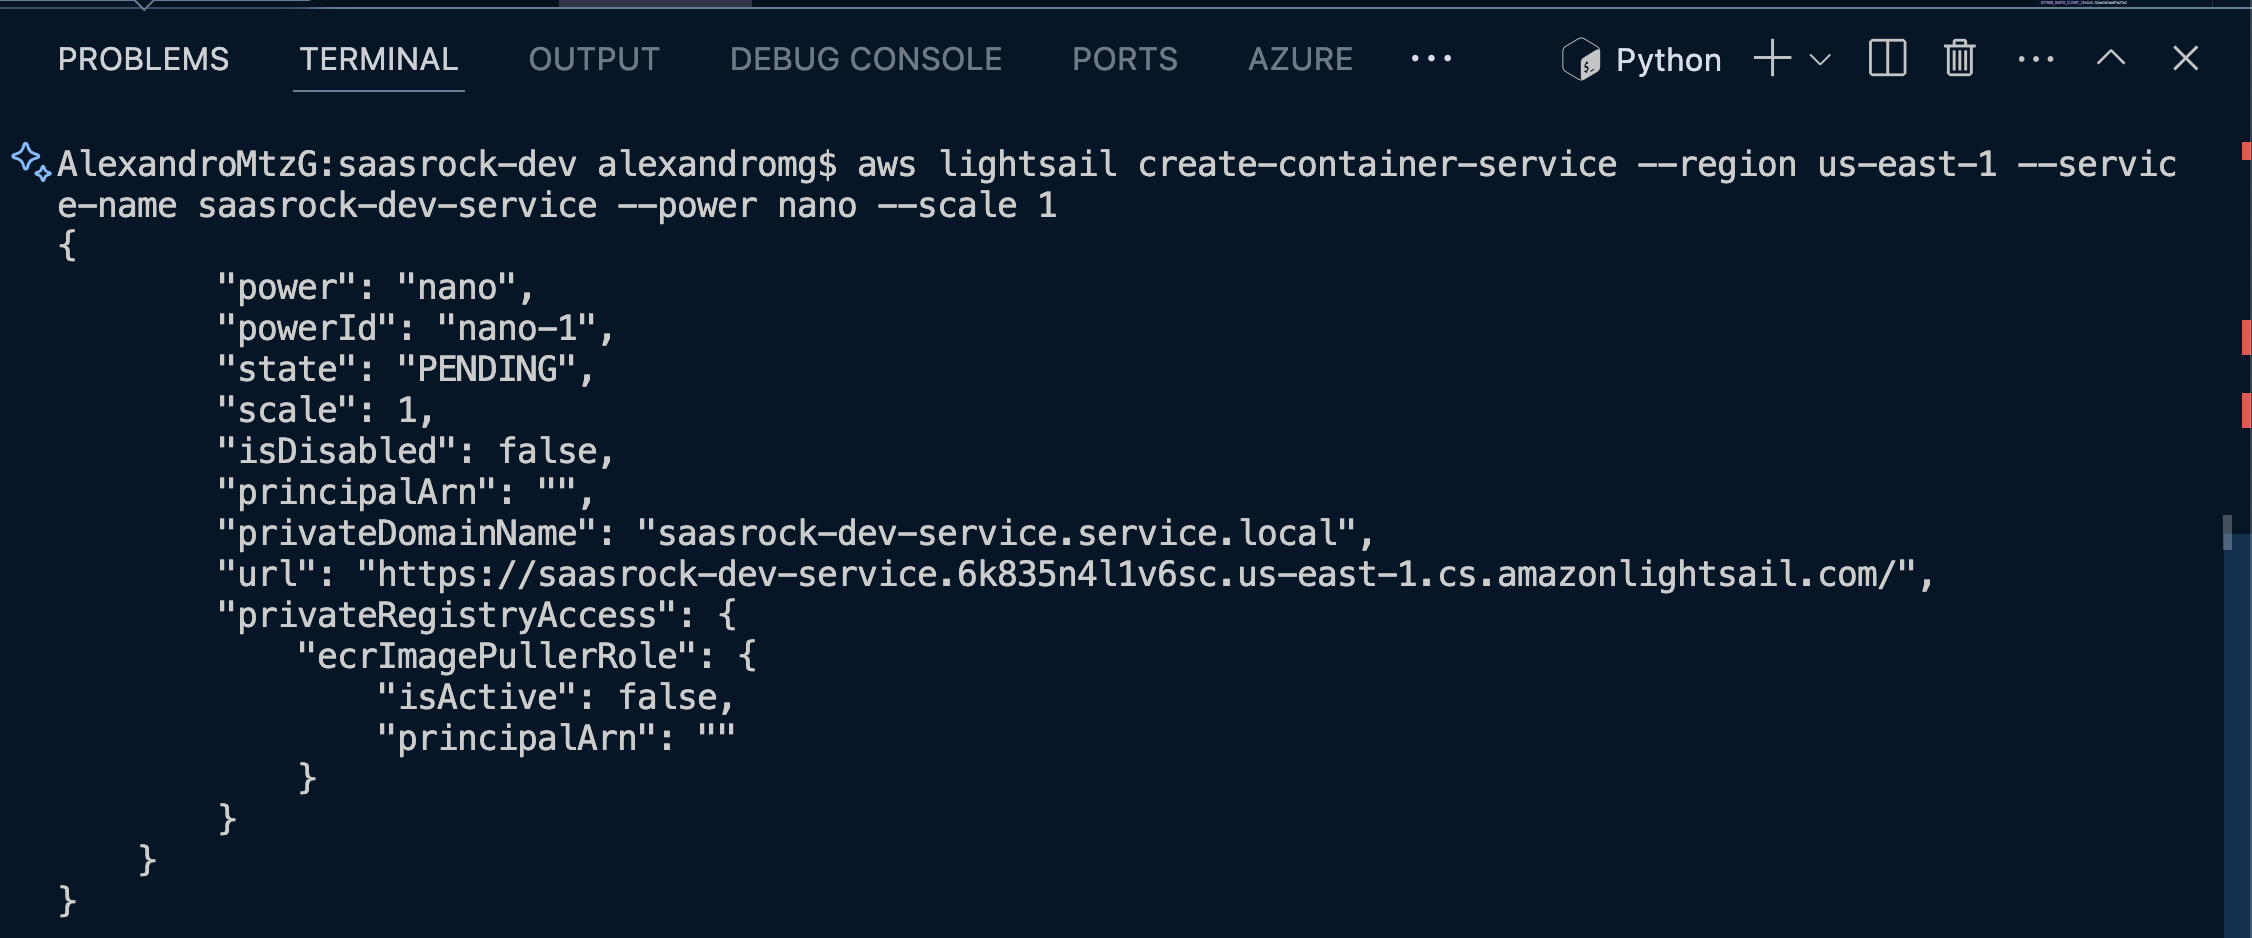
This is creating a Nano instance ($7/m):
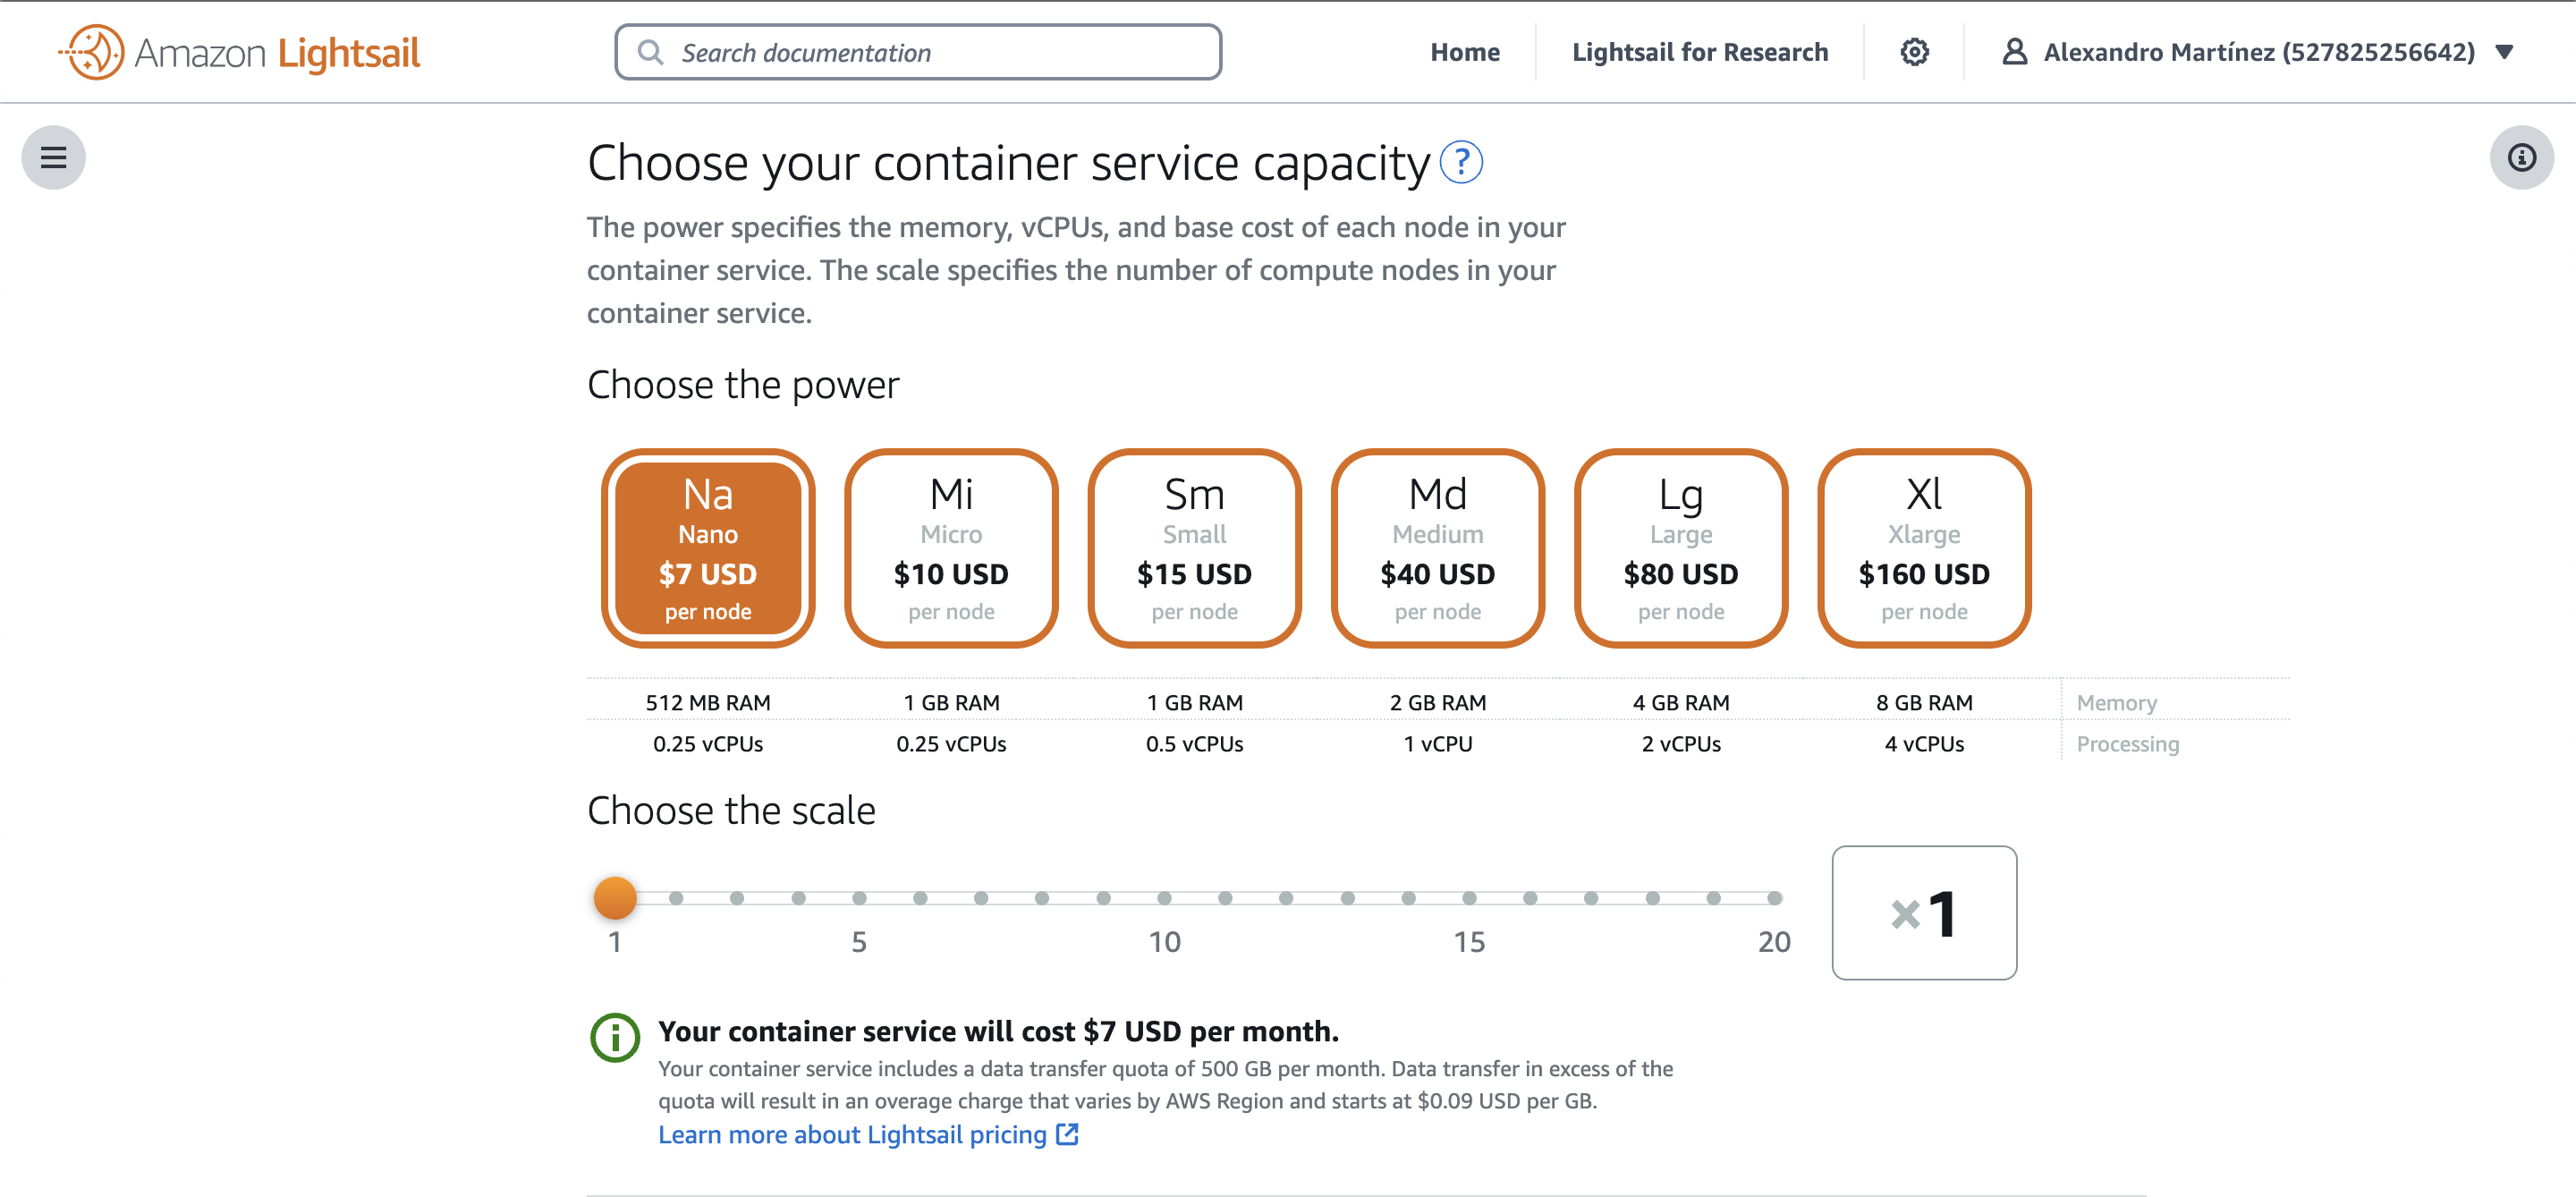
Check the status with the following command:
aws lightsail get-container-services --region us-east-1 --service-name saasrock-dev-service --query "containerServices[].state"If it's still pending, you'll just get a PENDING status:

I'd say wait around 3 minutes and check again. You can also check the container status at the Amazon Lightsail dashboard:

5) Deploy the Container
Run the following command to push your image:
aws lightsail push-container-image --region us-east-1 --service-name saasrock-dev-service --label latest --image saasrock-dev:latestThis pushes the image to the container service, but does not deploy it.
Create a local configuration aws-lightsail-containers.json, and add it in your .gitignore as we're going to define the environment variables:
{
  "serviceName": "saasrock-dev-service",
  "containers": {
    "saasrock-dev-service": {
      "image": "saasrock-dev:latest",
      "environment": {
        "DATABASE_URL": "your_database_url_here",
        ...
      },
      "ports": {
        "80": "HTTP"
      }
    }
  },
  "publicEndpoint": {
    "containerName": "saasrock-dev-service",
    "containerPort": 80
  }
}
Make sure to update the service/container name, and your environment vars, and deploy it:
aws lightsail create-container-service-deployment --region us-east-1 --cli-input-json file://aws-lightsail-containers.jsonIf everthing worked, you should get a JSON output in the terminal.
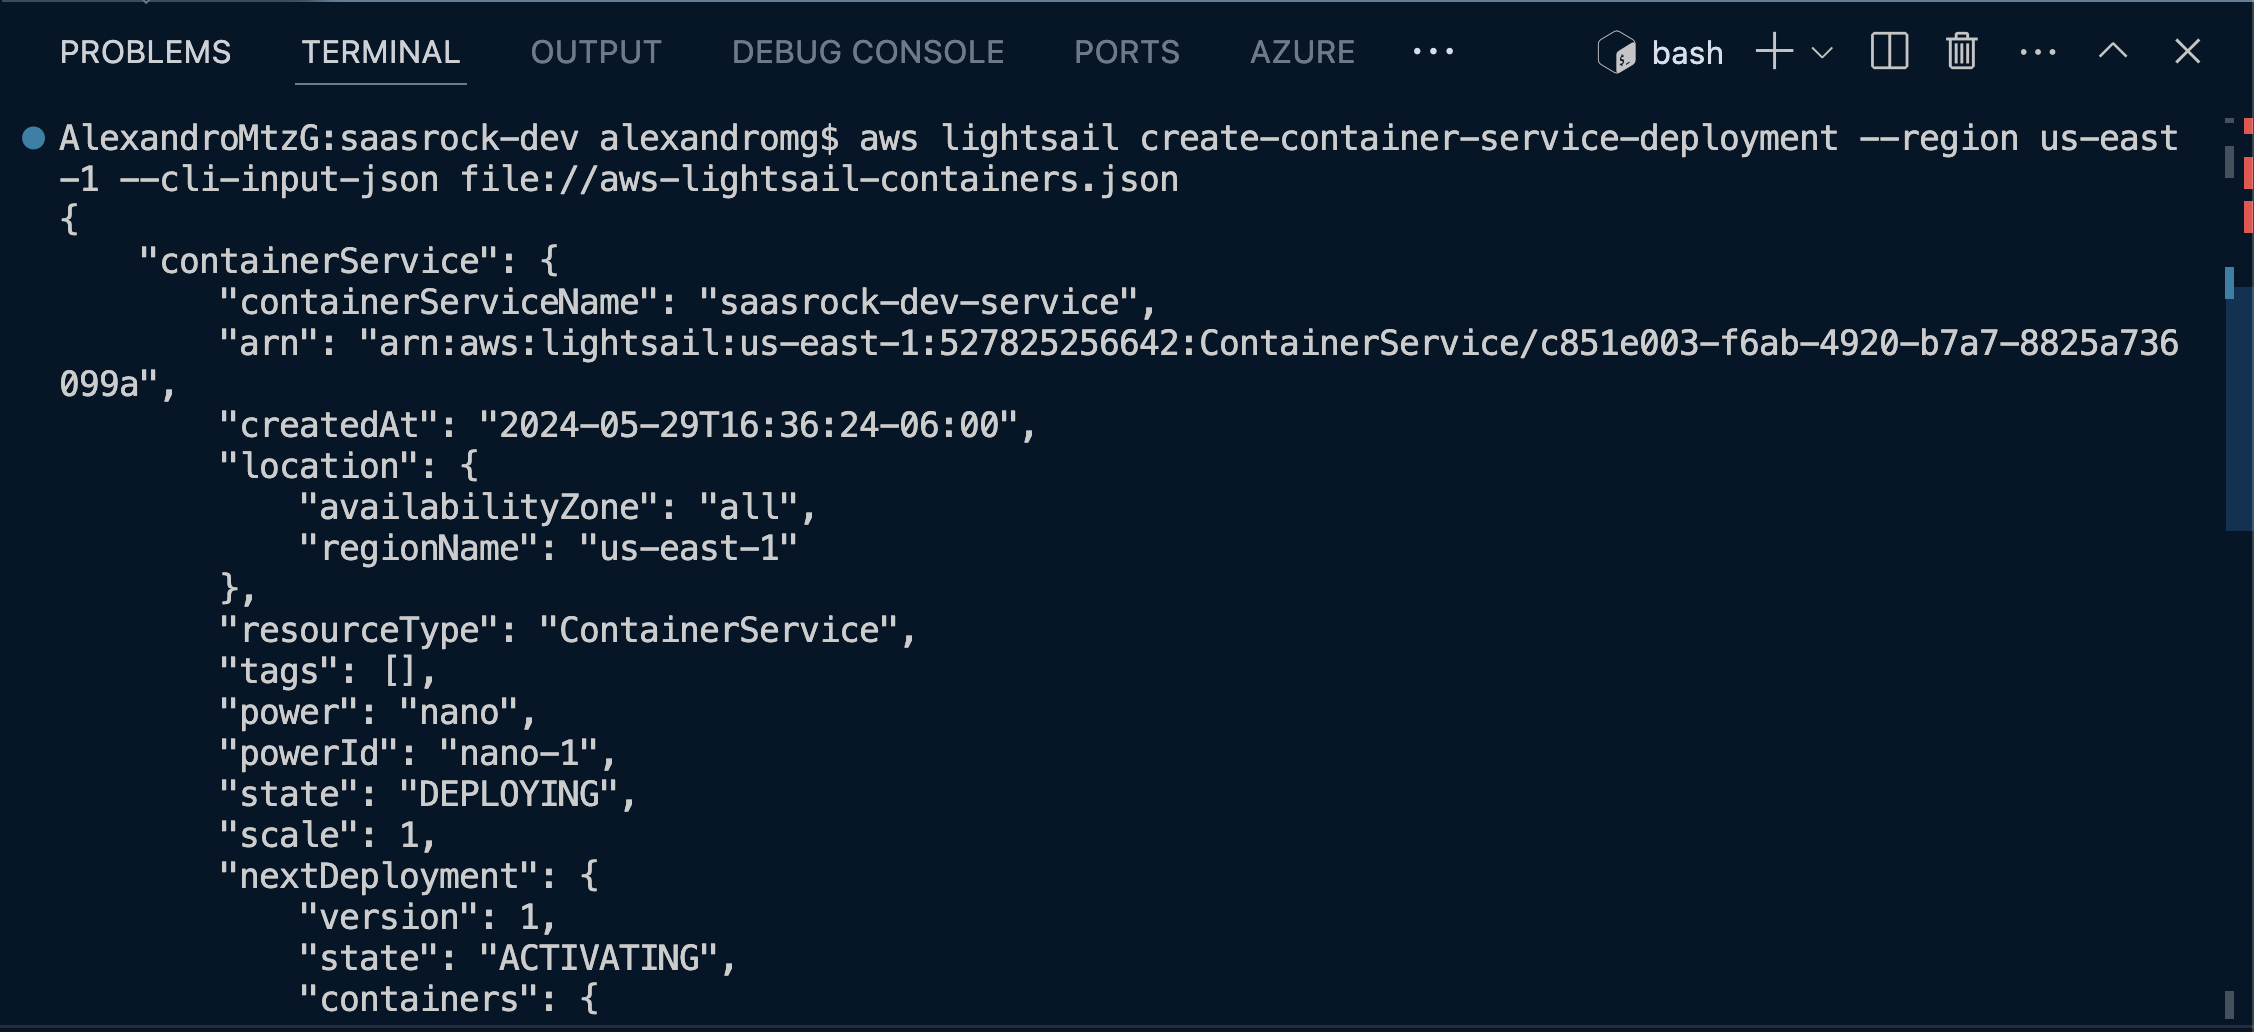
Check the deployment status with the following commands:
aws lightsail get-container-services --region us-east-1  --query "containerServices[].nextDeployment.state"
aws lightsail get-container-services --region us-east-1 --query "containerServices[].currentDeployment.state"
You should get the following output:

And once it's deployed, get the URL with the following command:
aws lightsail get-container-services --region us-east-1 --query "containerServices[].url"That's it! Your app should be live!
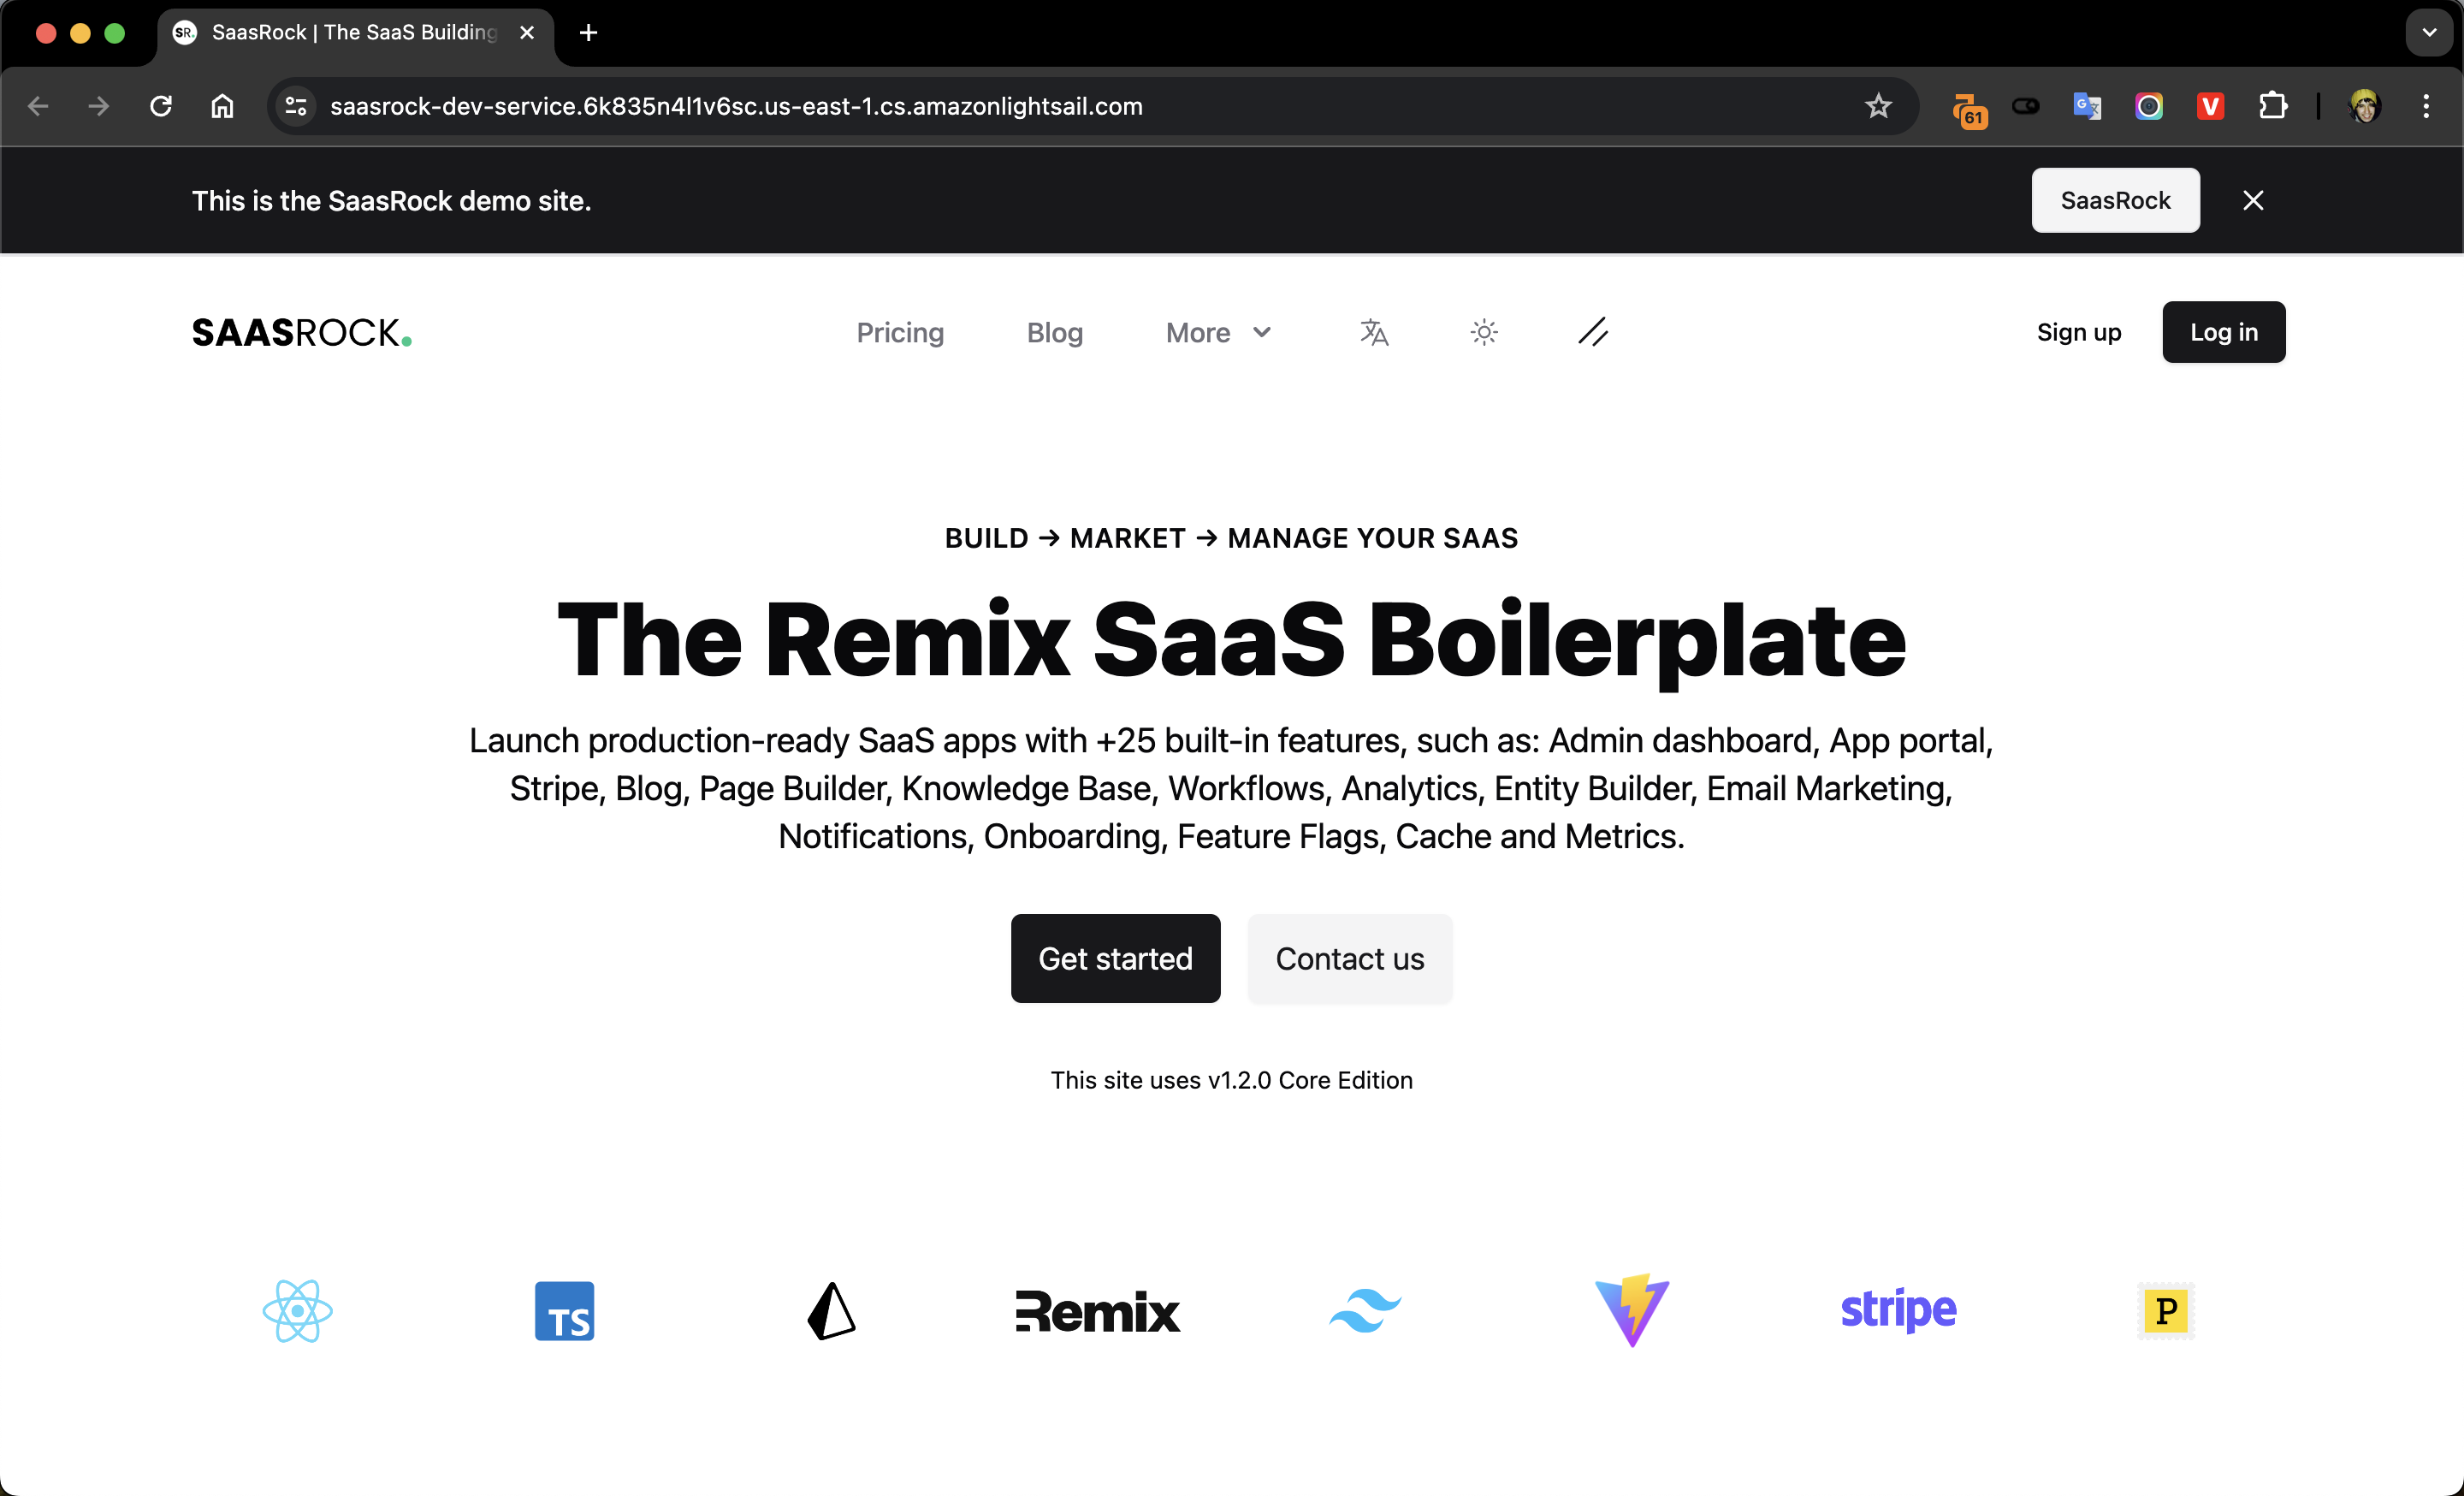
And if you check your Amazon Lightsail dashboard, you should see your container service:
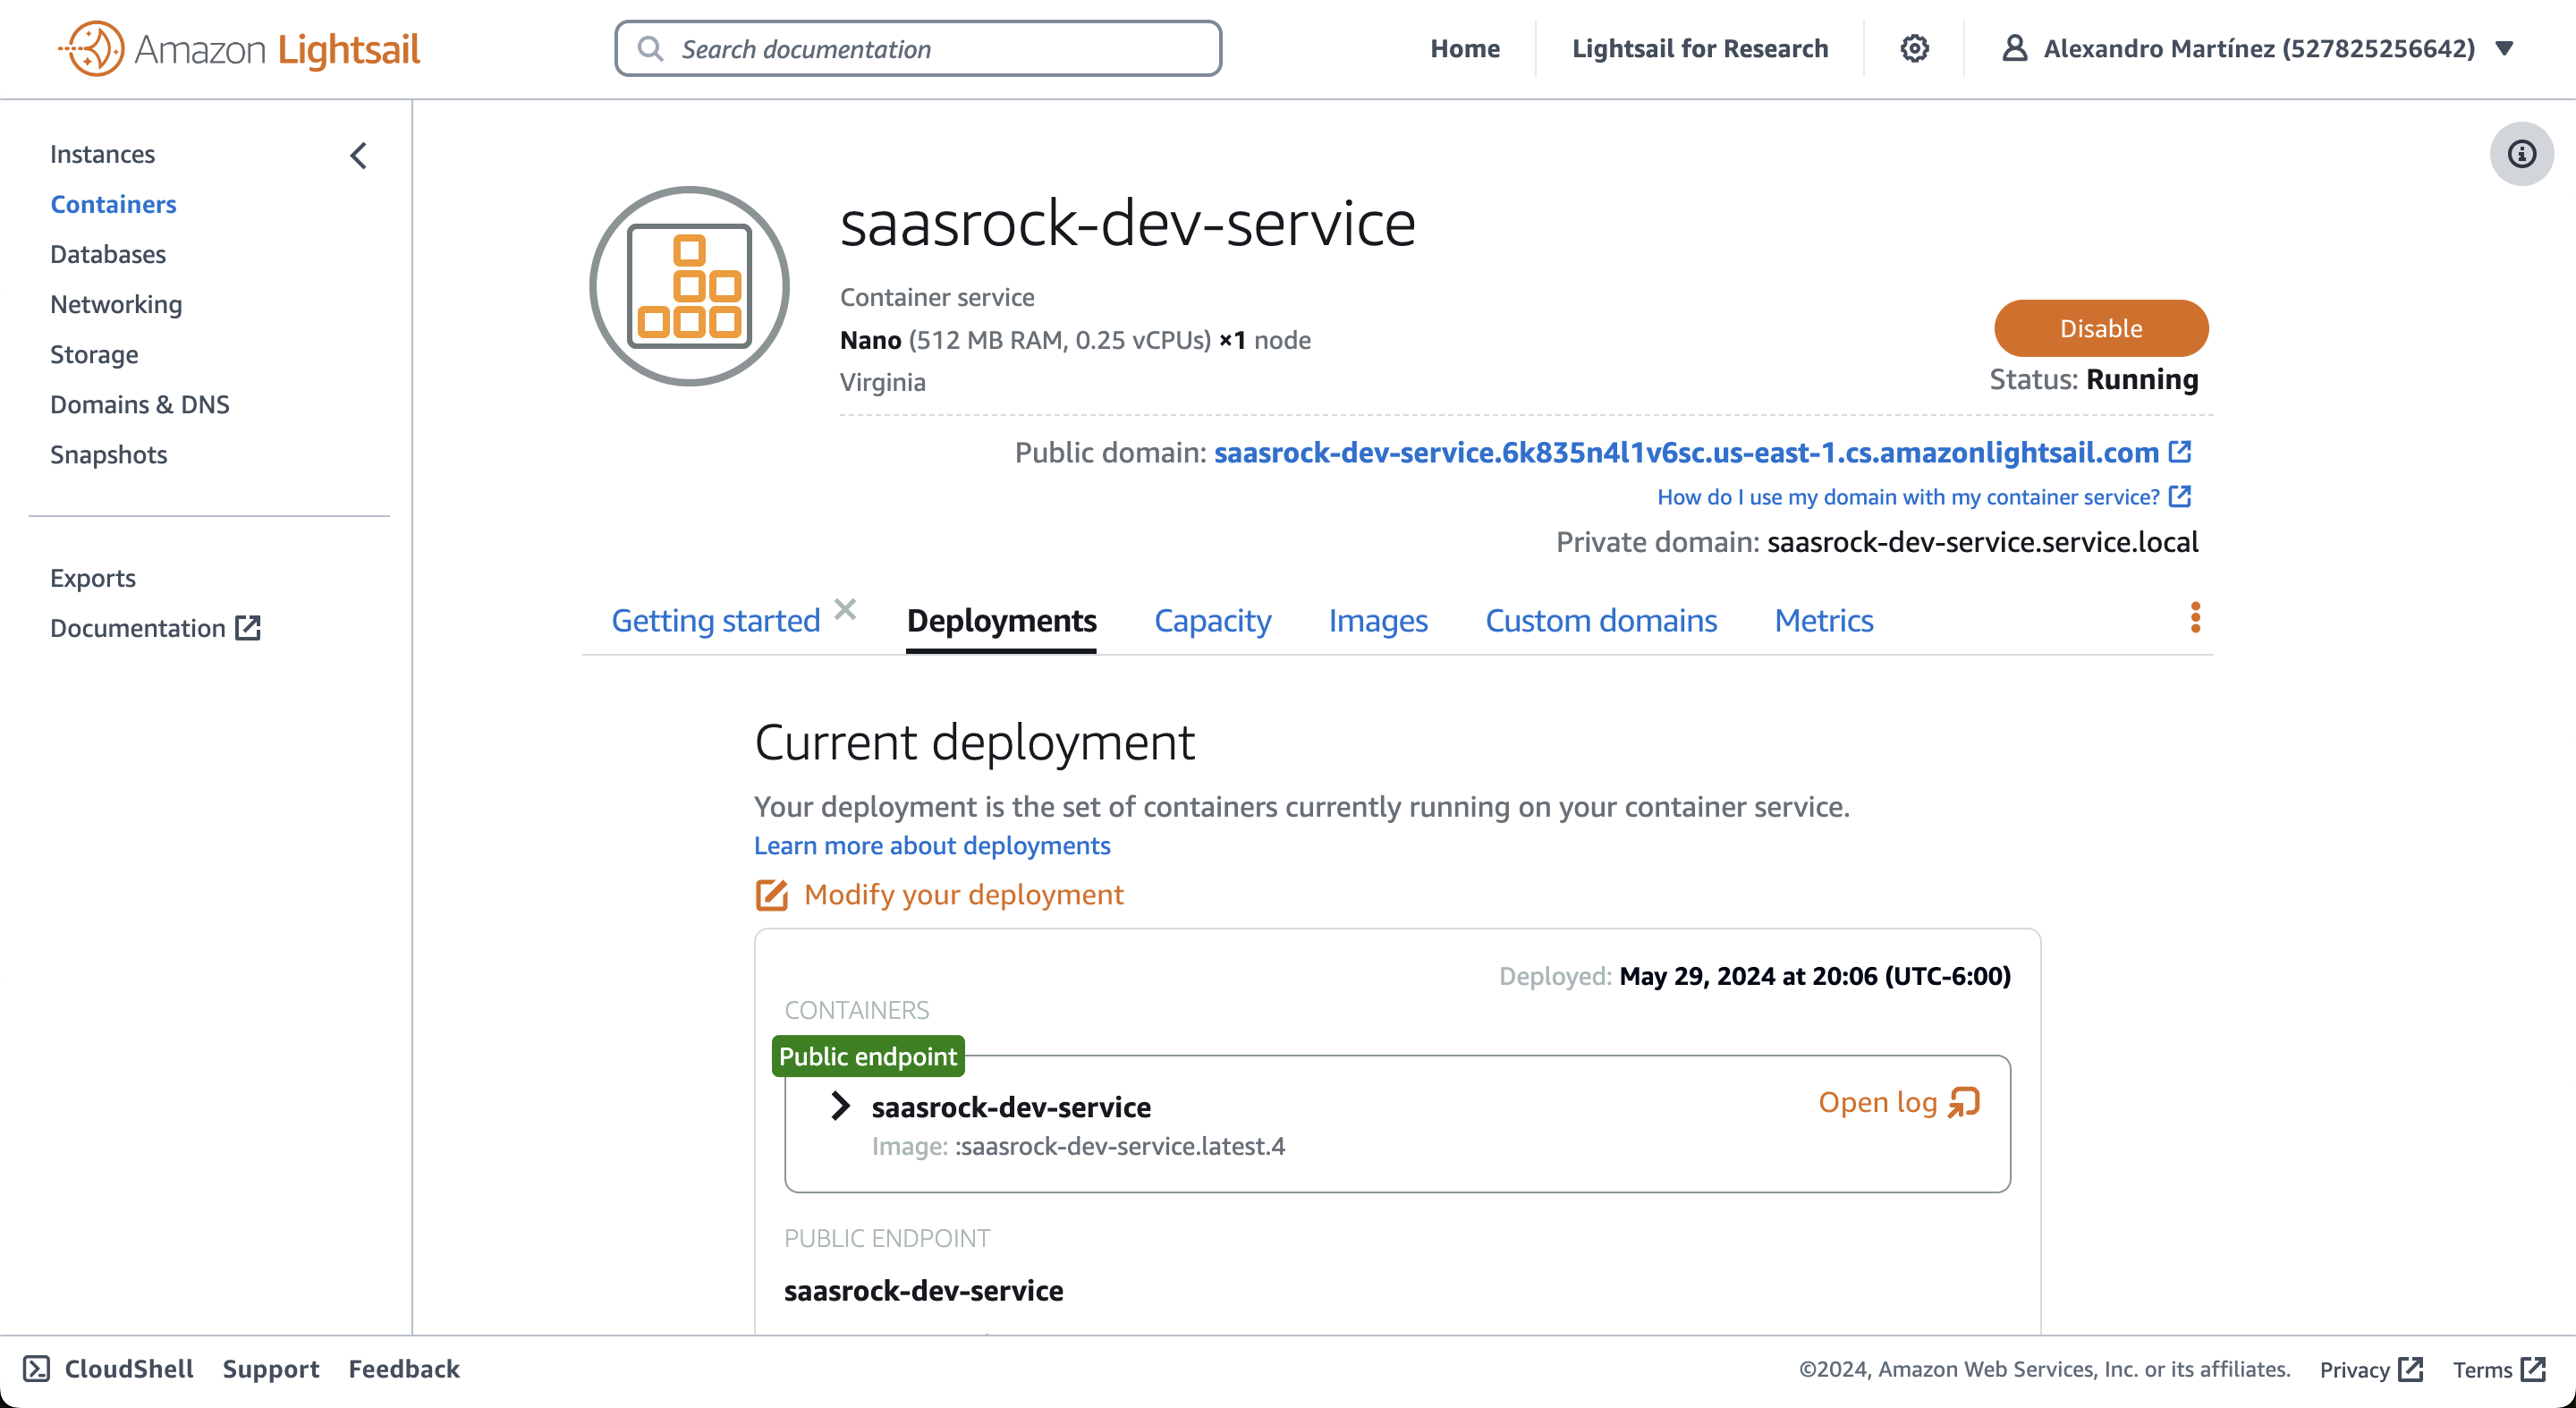
6) Deploy a new Version
Build the image again:
docker build -t saasrock-dev .and push the new image:
aws lightsail push-container-image --region us-east-1 --service-name saasrock-dev-service --label latest --image saasrock-dev:latestYou should get a new image name:
Digest: sha256:71e4e122c1af0c8da686e35921ac1ccab452369145f8164094116d19ddac8c37
Image "saasrock-dev:latest" registered.
Refer to this image as ":saasrock-dev-service.latest.2" in deployments.
Take that name (in my case :saasrock-dev-service.latest.2) and put it in the aws-lightsail-containers.json file:
{
  ...
  "containers": {
    "saasrock-dev-service": {
      "image": ":saasrock-dev-service.latest.2",
      ...
}
And redeploy the image as a new container deployment:
aws lightsail create-container-service-deployment --region us-east-1 --cli-input-json file://aws-lightsail-containers.jsonKnown Issues
🔴 Unable to start container process: exec: "./start.sh": permission denied: unknown
Assign permissions, rebuild the image and run the container again.
chmod +x start.sh
docker build -t saasrock-dev .
docker run -p 8080:8080 --rm --env-file .env saasrock-dev:latest
Or, in your Dockerfile make sure to assign permissions:
...
RUN chmod +x /myapp/start.sh
ENTRYPOINT [ "./start.sh" ]
🔴 if (!origin) throw Error("Dev server origin not set")
Make sure that you're not setting NODE_ENV manually in your environment.
🔴 PrismaClientInitializationError: the URL must start with the protocol...
Make sure to remove double quotes in your DATABASE_URL variable:
DATABASE_URL="postgres://🔴 Can't reach database server at localhost...
If you're running a local database like me (postgres), you can use host.docker.internal instead of localhost.
DATABASE_URL=postgres://user:pass@host.docker.internal:5432/db🔴 exec /usr/local/bin/docker-entrypoint.sh: exec format error
This means that you built your image in an Apple Silicon machine (M1, M2, M3...), make sure to have the --platform flag in your Dockerfile:
#!/bin/bash
FROM --platform=linux/amd64 node:18-bookworm-slim as base
Or when building the image (better explanation here):
DOCKER_DEFAULT_PLATFORM=linux/amd64 docker build -t saasrock-dev .References:
